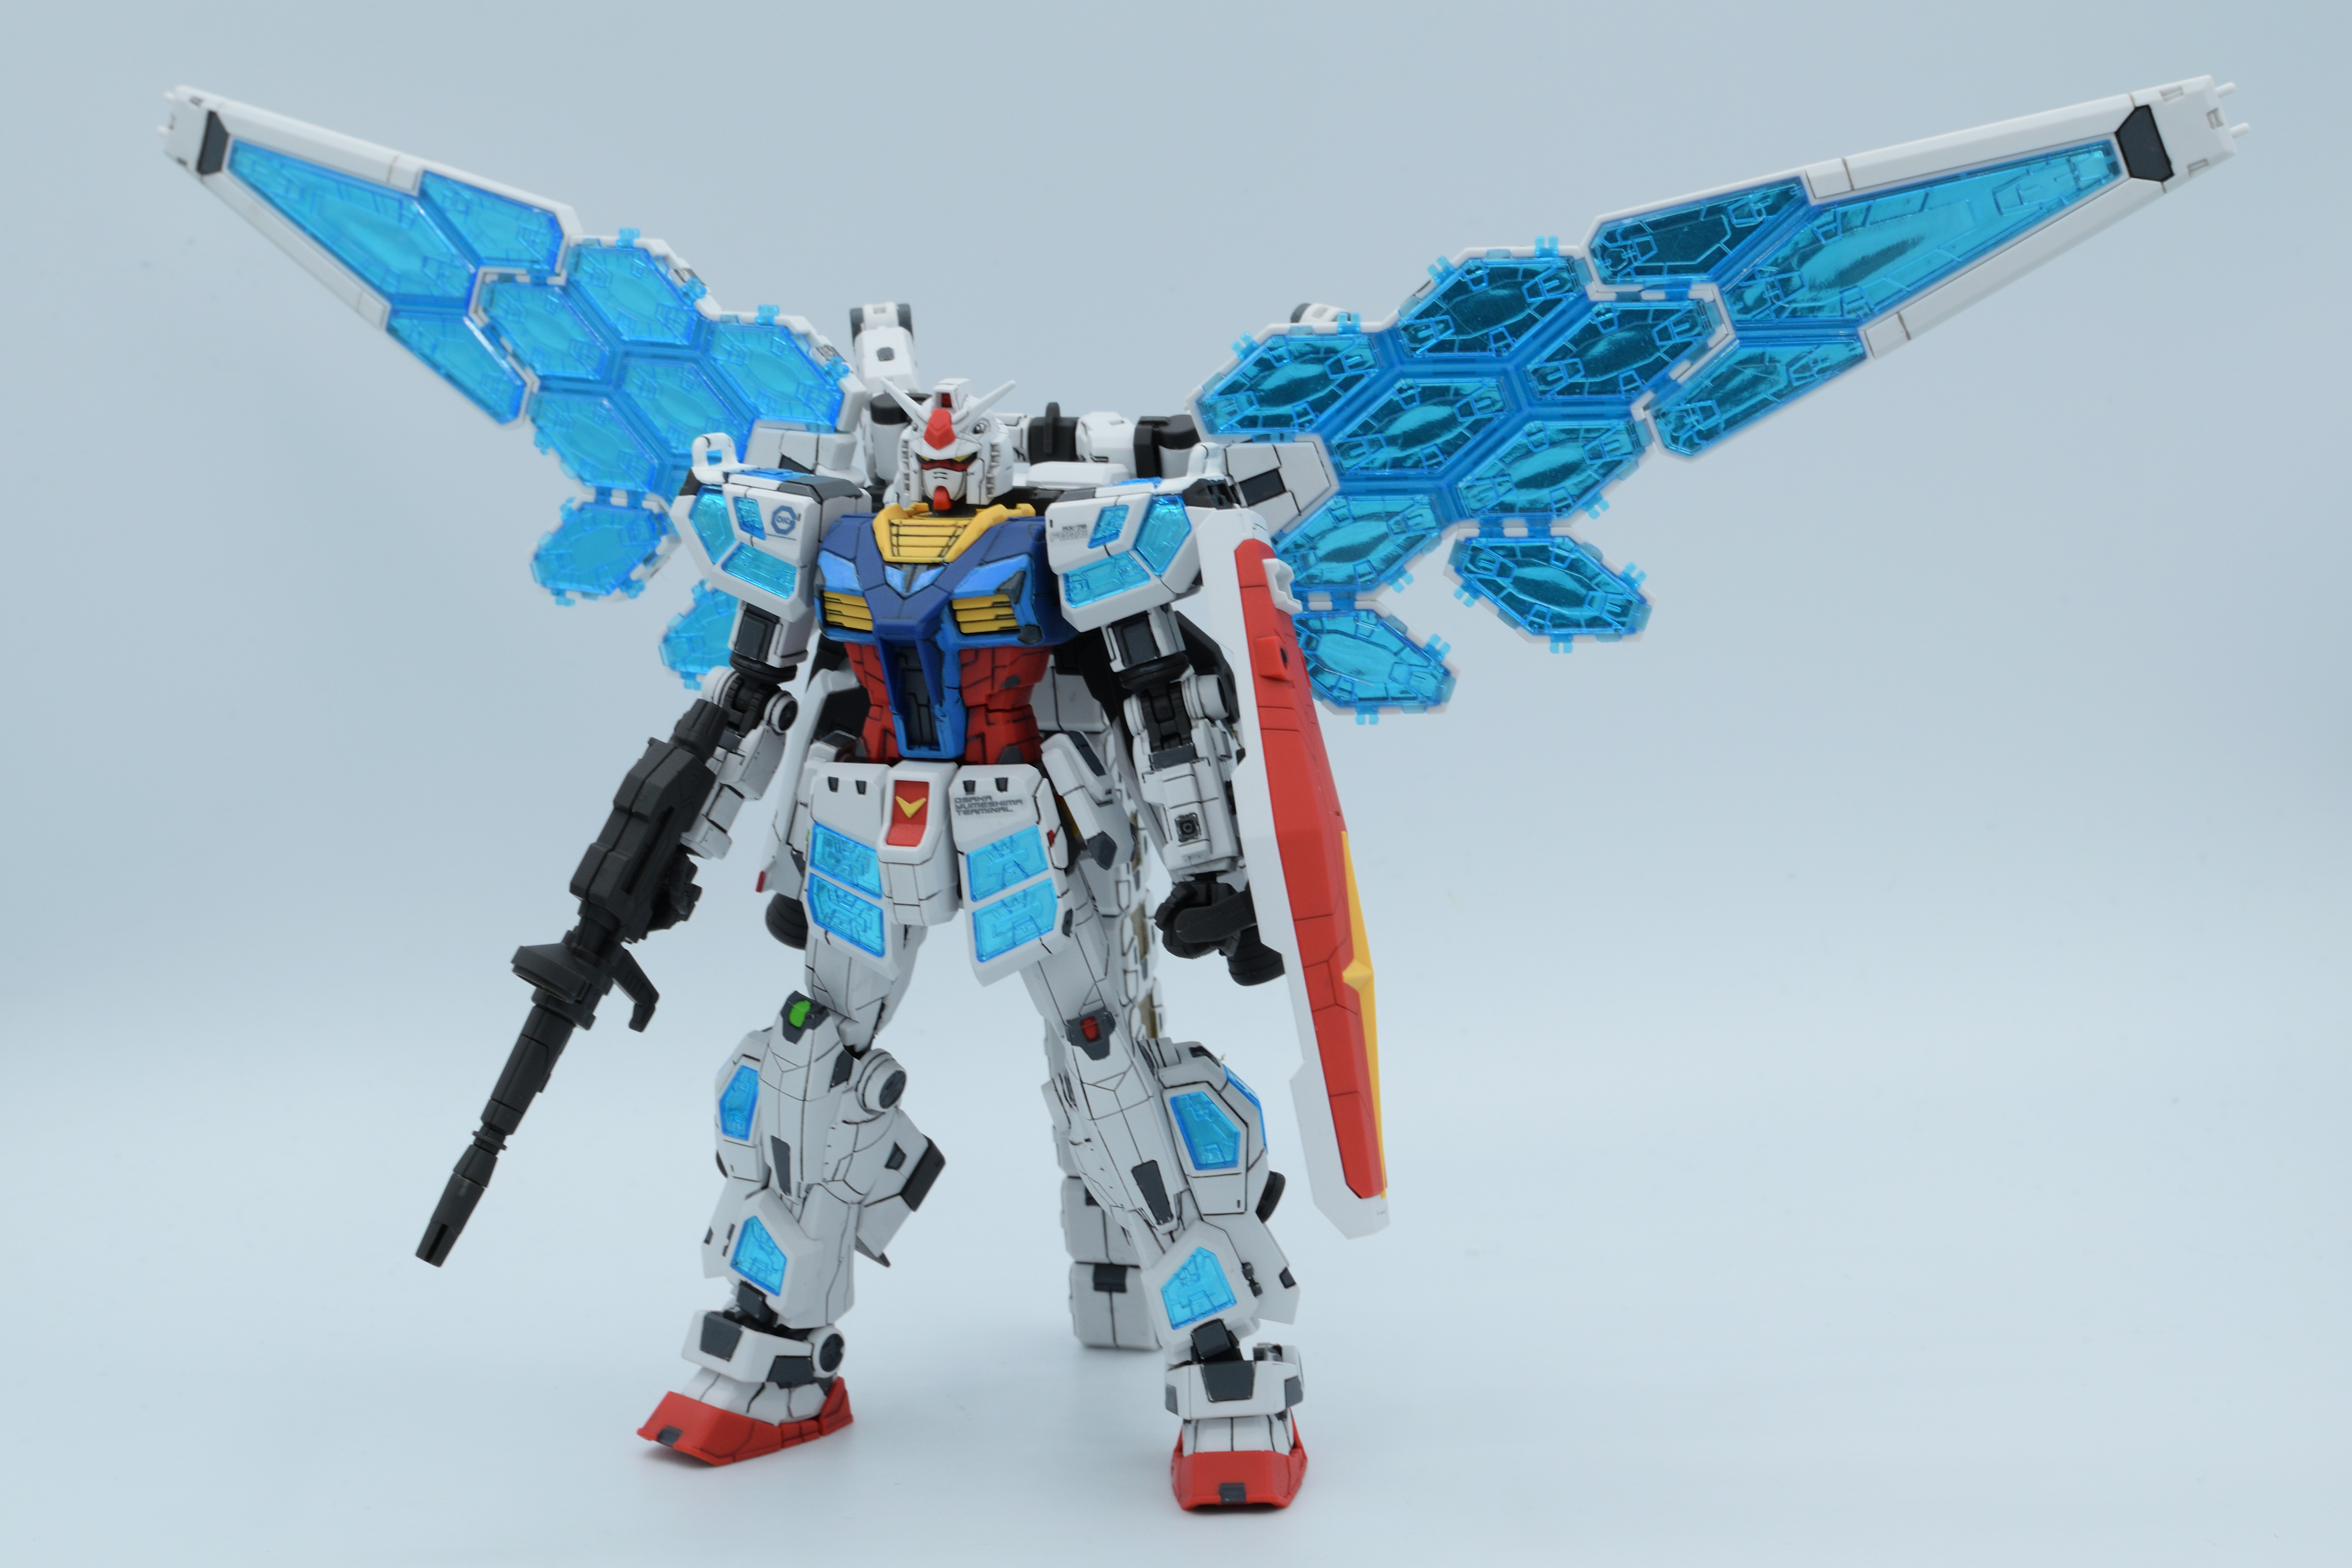
Say hello to possibly the most detailed 1/144 RX-78 that somehow puts both RG Granddaddies to shame. My sister got this for me as a souvenir/birthday present when she visited Hawaii, which was crazy that she found it all the way there considering it wasn’t even available on the U.S. P-Bandai store. Must don’t ask how much she got it for, because I would later learn that it could be found for Japanese MSRP in Suruga-ya.
A problem I immediately recognized just looking at the box art and comparing to actual plastic it comes with was that this kit was super inaccurate out of the box that it makes GQuuuuuuX kits look like a cakewalk in comparison. Although there’s no grade attached to this kit, the kit builds exactly like a typical late 2010s high grade—it’s pretty easy to build, every joint uses polycaps, and you’re mostly just sandwiching pieces together. All the clear pieces come with shiny sticker backings to make the clear parts pop, and all of the original RX-78F00 parts are included where you can mix and match them to replicate the actual RX-78F00/E statue in Osaka. Overall, it took me 2 days to fully snap build the whole kit, but detailing was going to a completely different story due to the sheer volume of panel lining to do and color separation that looked like an absolute nightmare to do to get full accuracy.
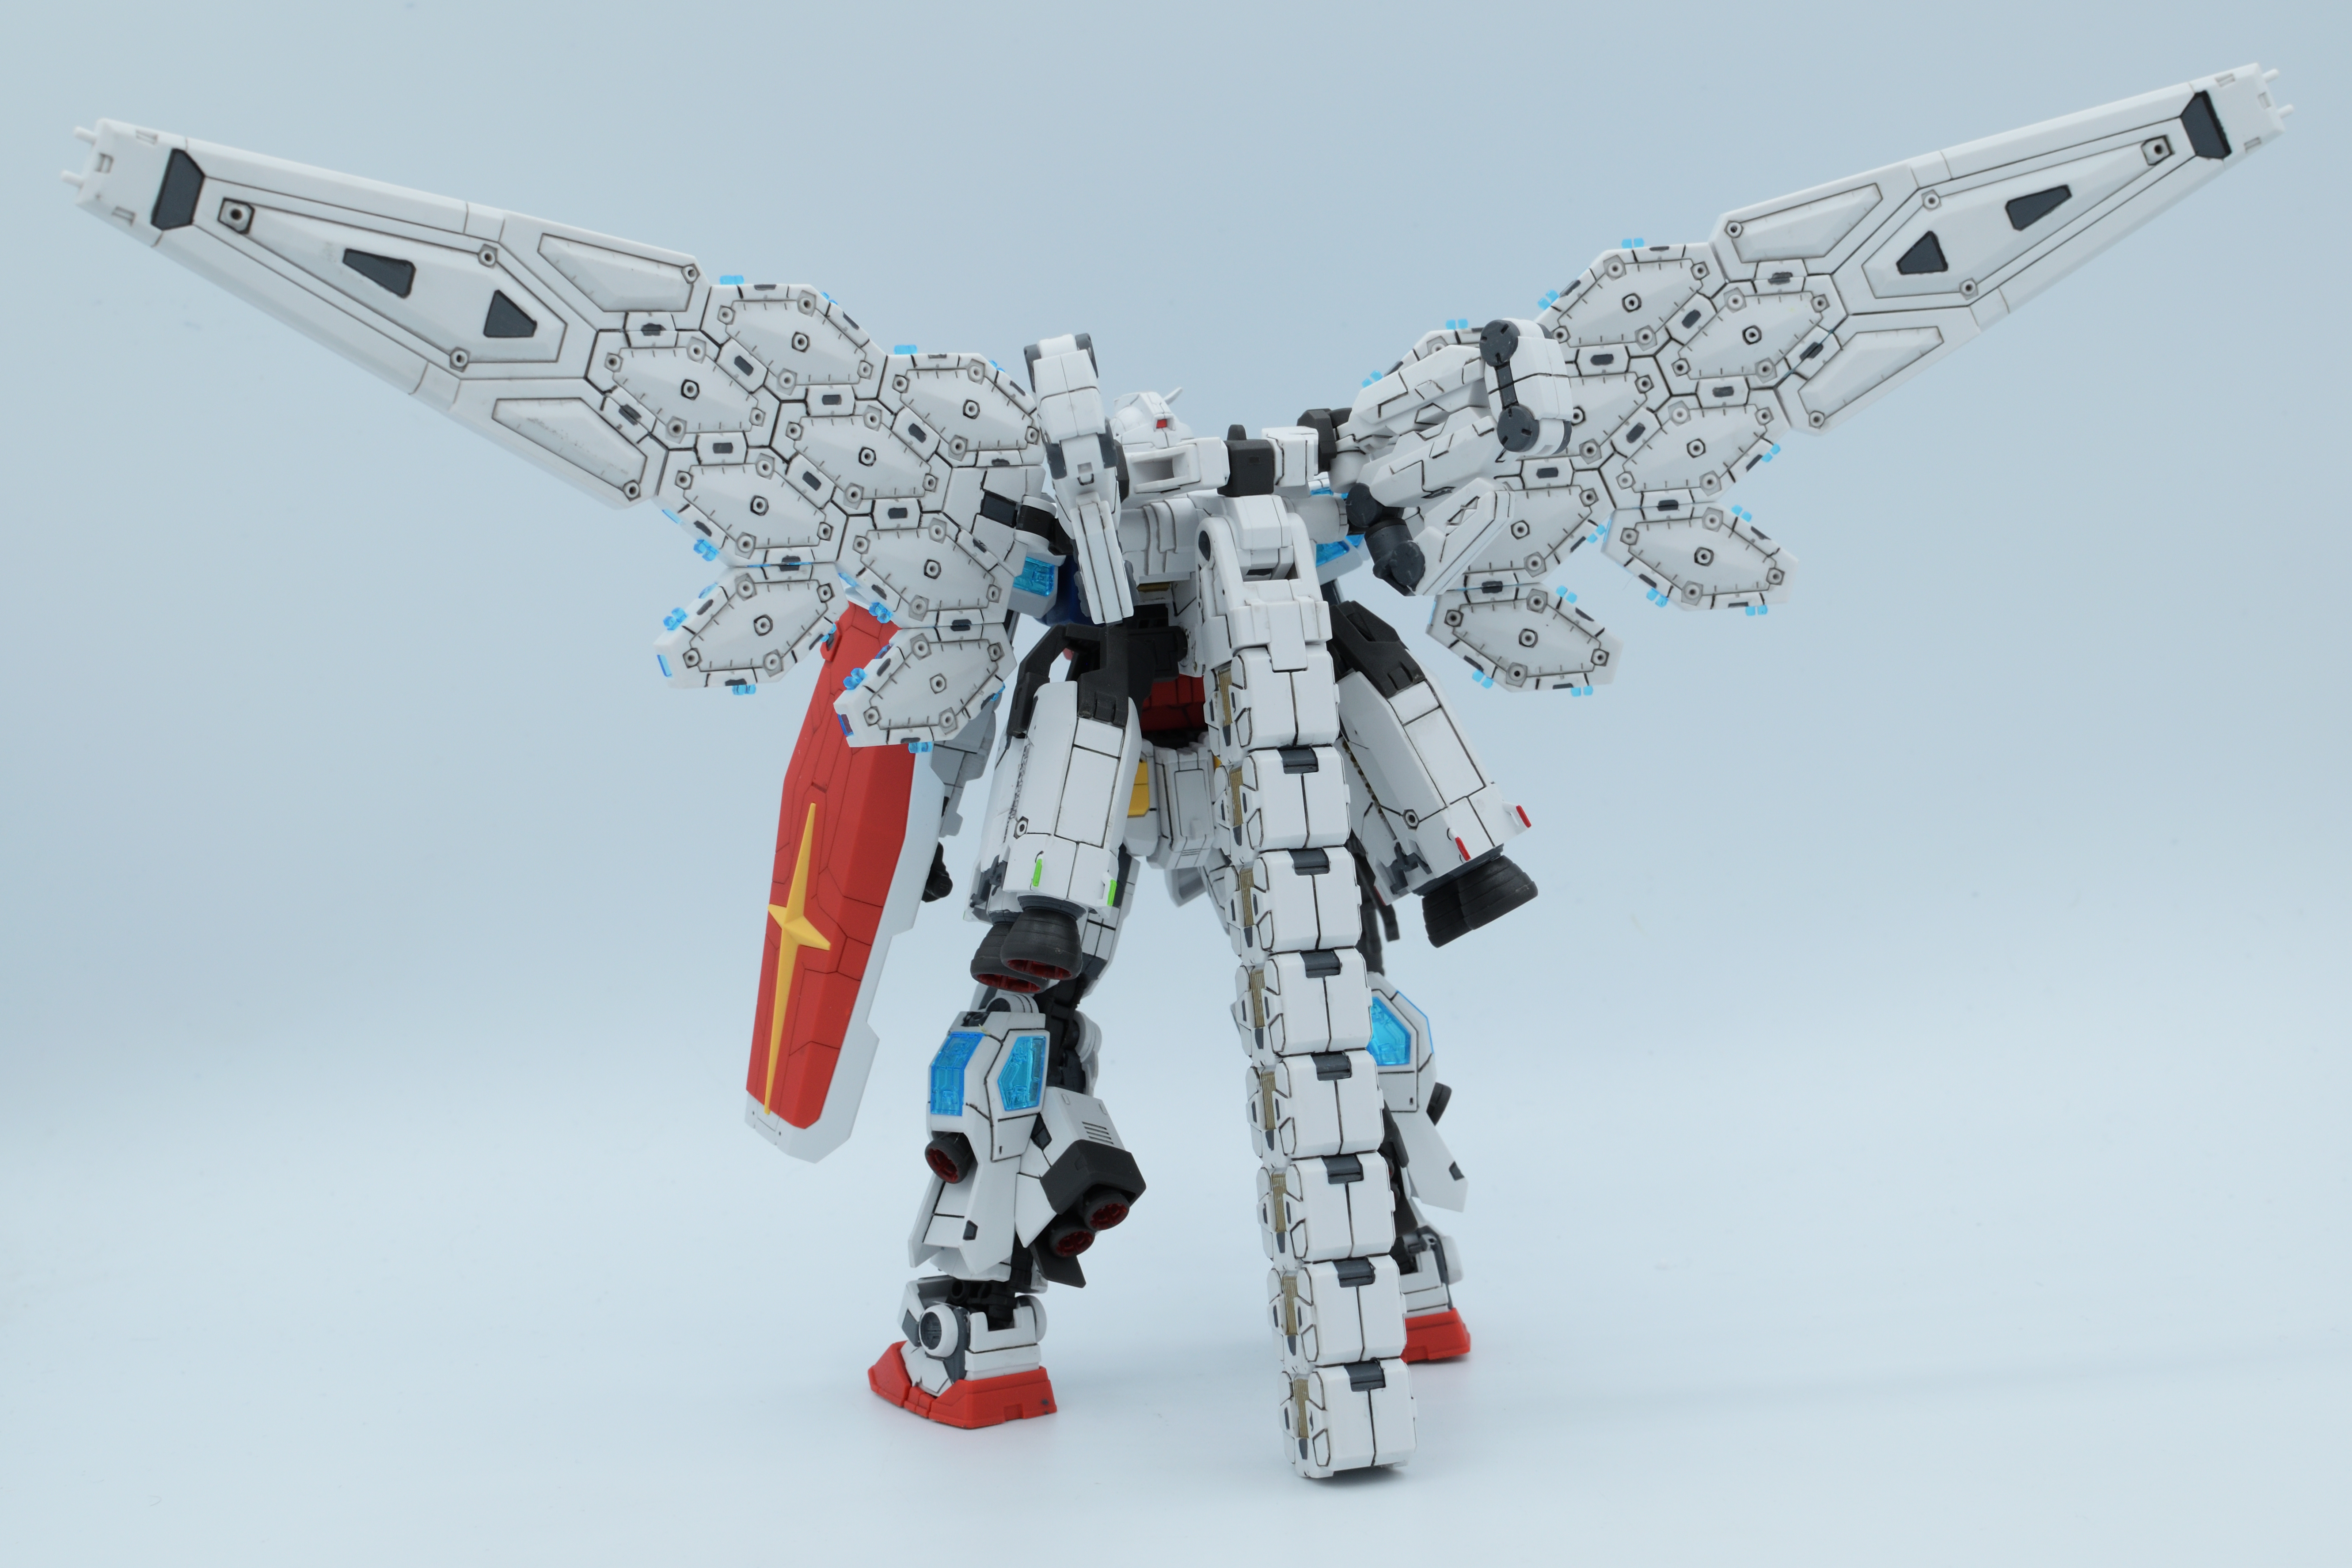
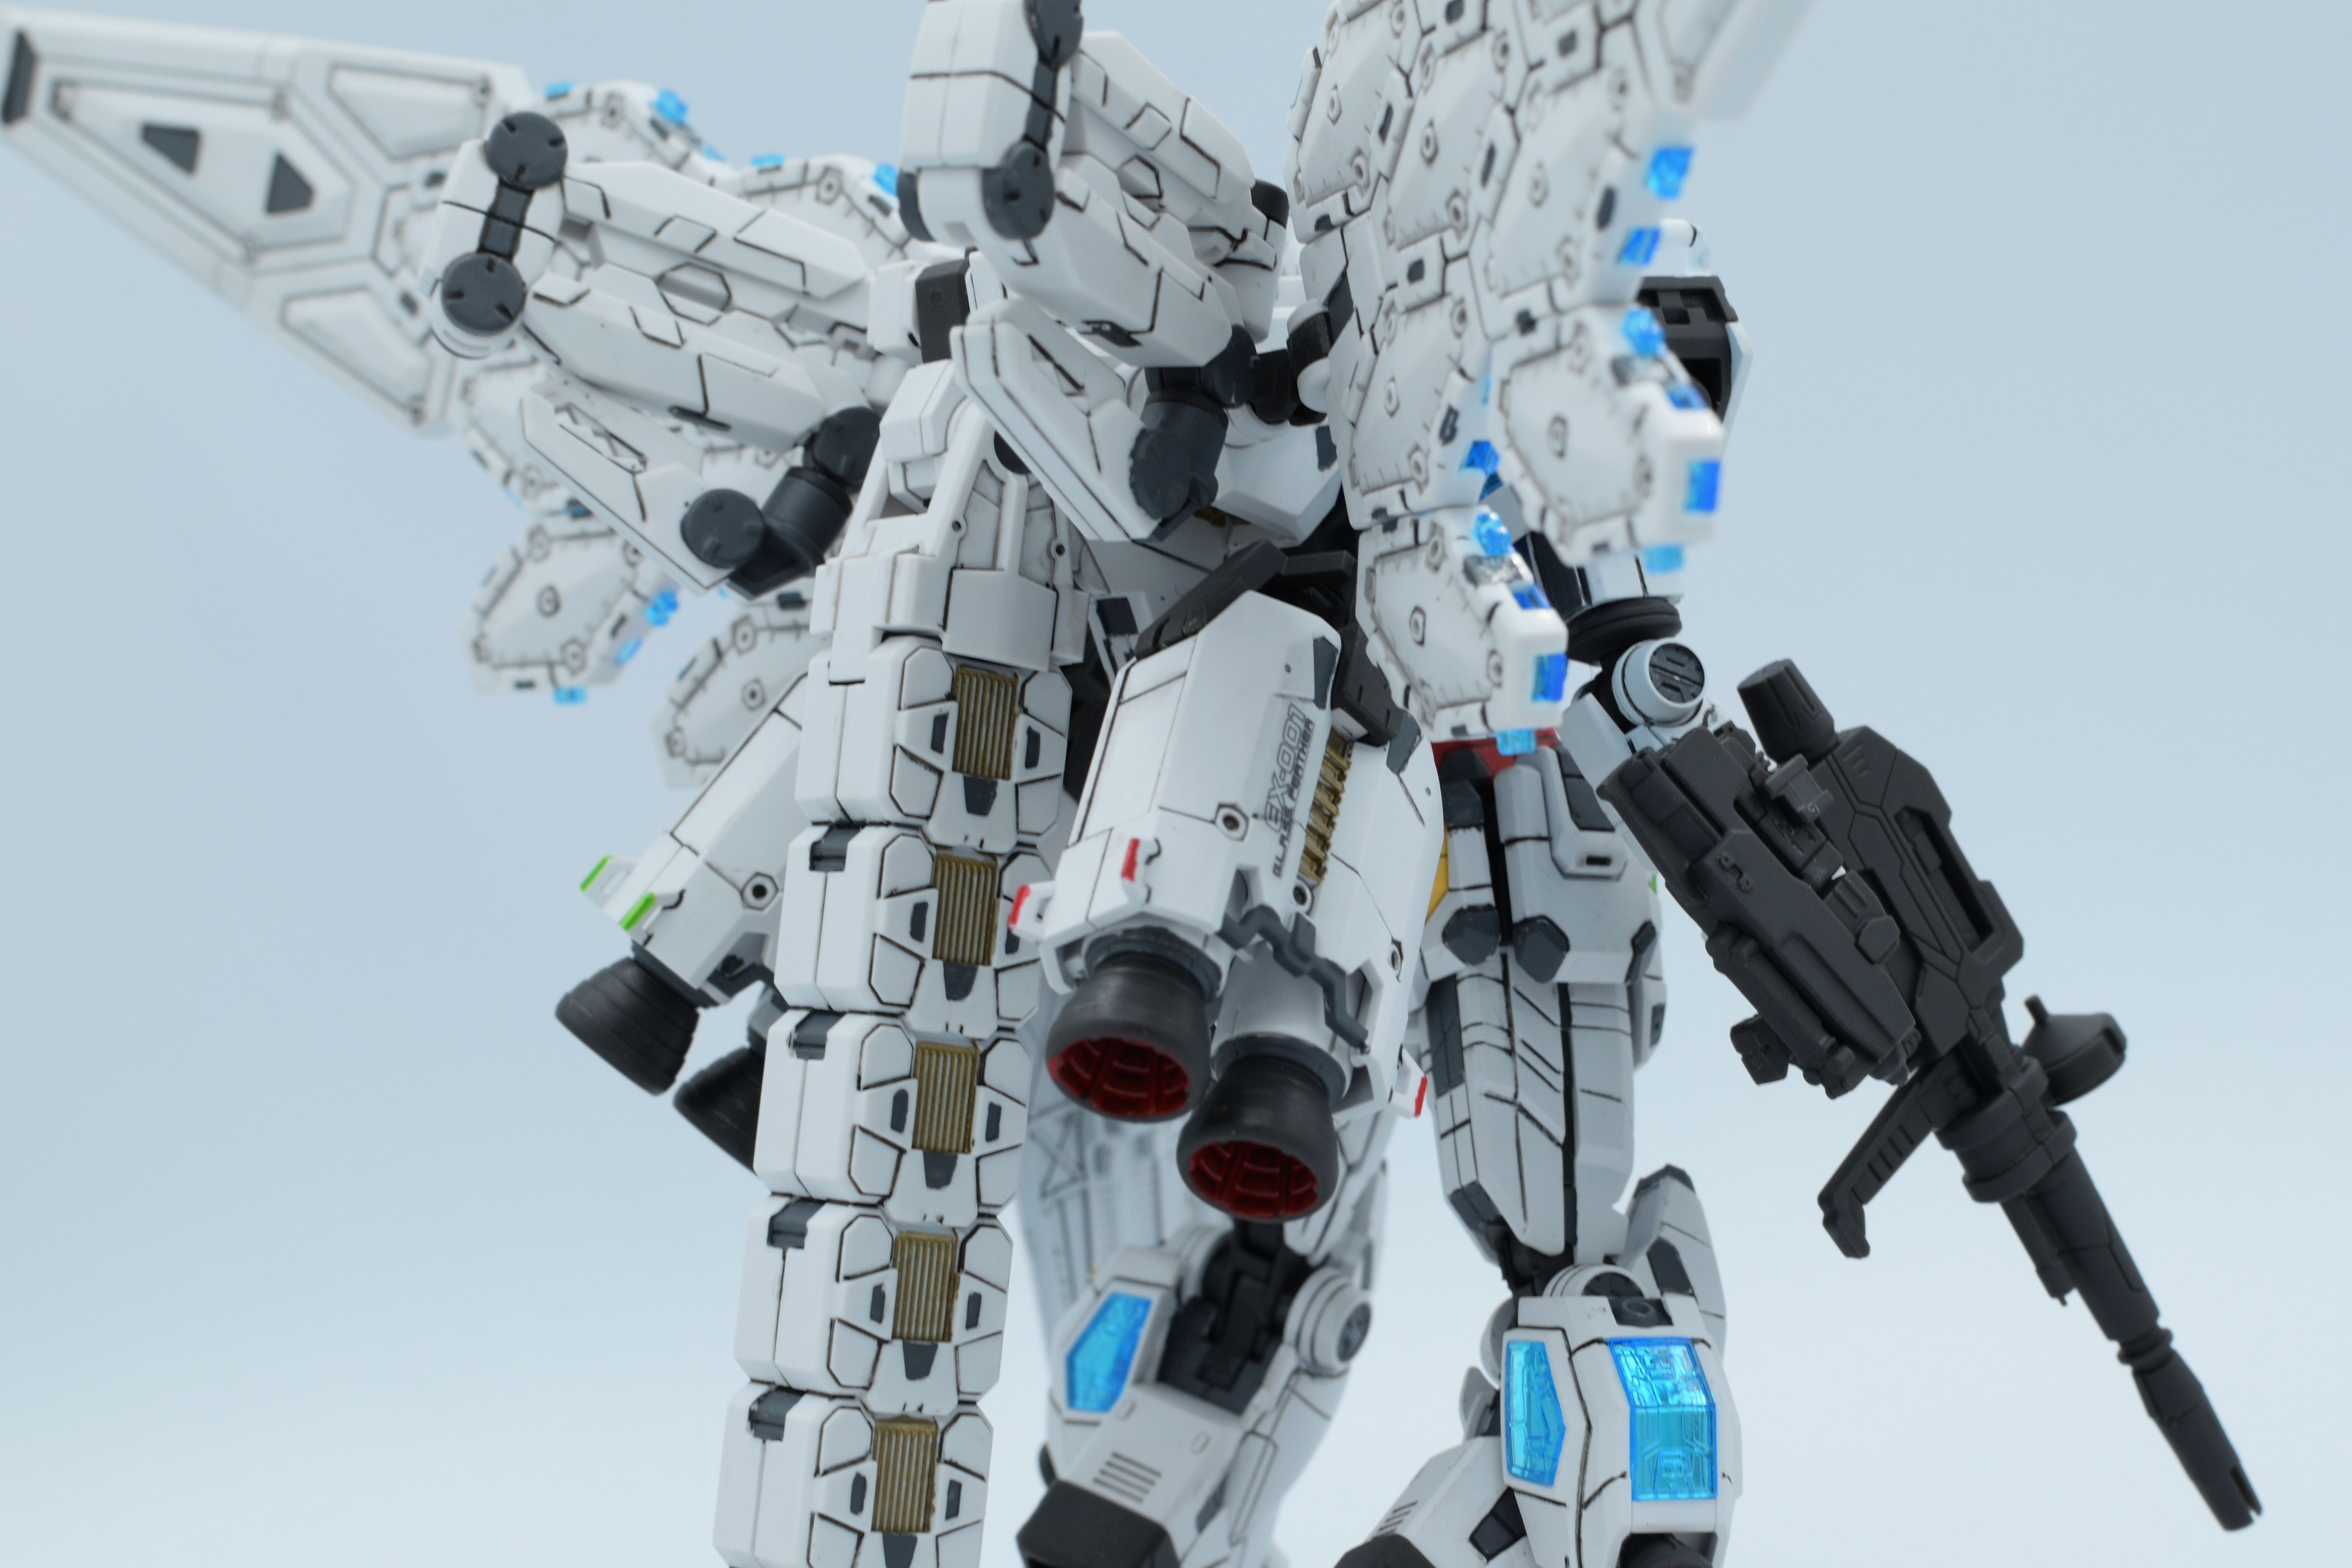
And a nightmare it was. I usually hand paint before doing any panel lining, but I panel lined first as I needed a visual aid to show me where exactly I was going to be painting the minuscule tidbits of color separation. I initially started with a Micron pen, and immediately realized that I was going to be here for weeks as the torso alone took me about 30 minutes or so to line, so I busted up a tool that I haven’t used in forever—black Tamiya Panel Liner. This was risky as I was doing this unpainted and assembled, but god was it a huge time saver for all the panel lines on the limbs and the backpack. I did make big pools of the panel liner, and the plastic did crack a bit, but luckily didn’t snap anything or any joints for that matter. However, whether it was the liner just being old as hell or just the some corners not being sharp enough, I still did a lot of pen lining as the panel wash did not want to adhere in a few key areas. The giant backpack was particularly annoying about this and I really wasn’t in the mood to redo the wings with the pen, so you may see the backpack looking a bit inconsistent.
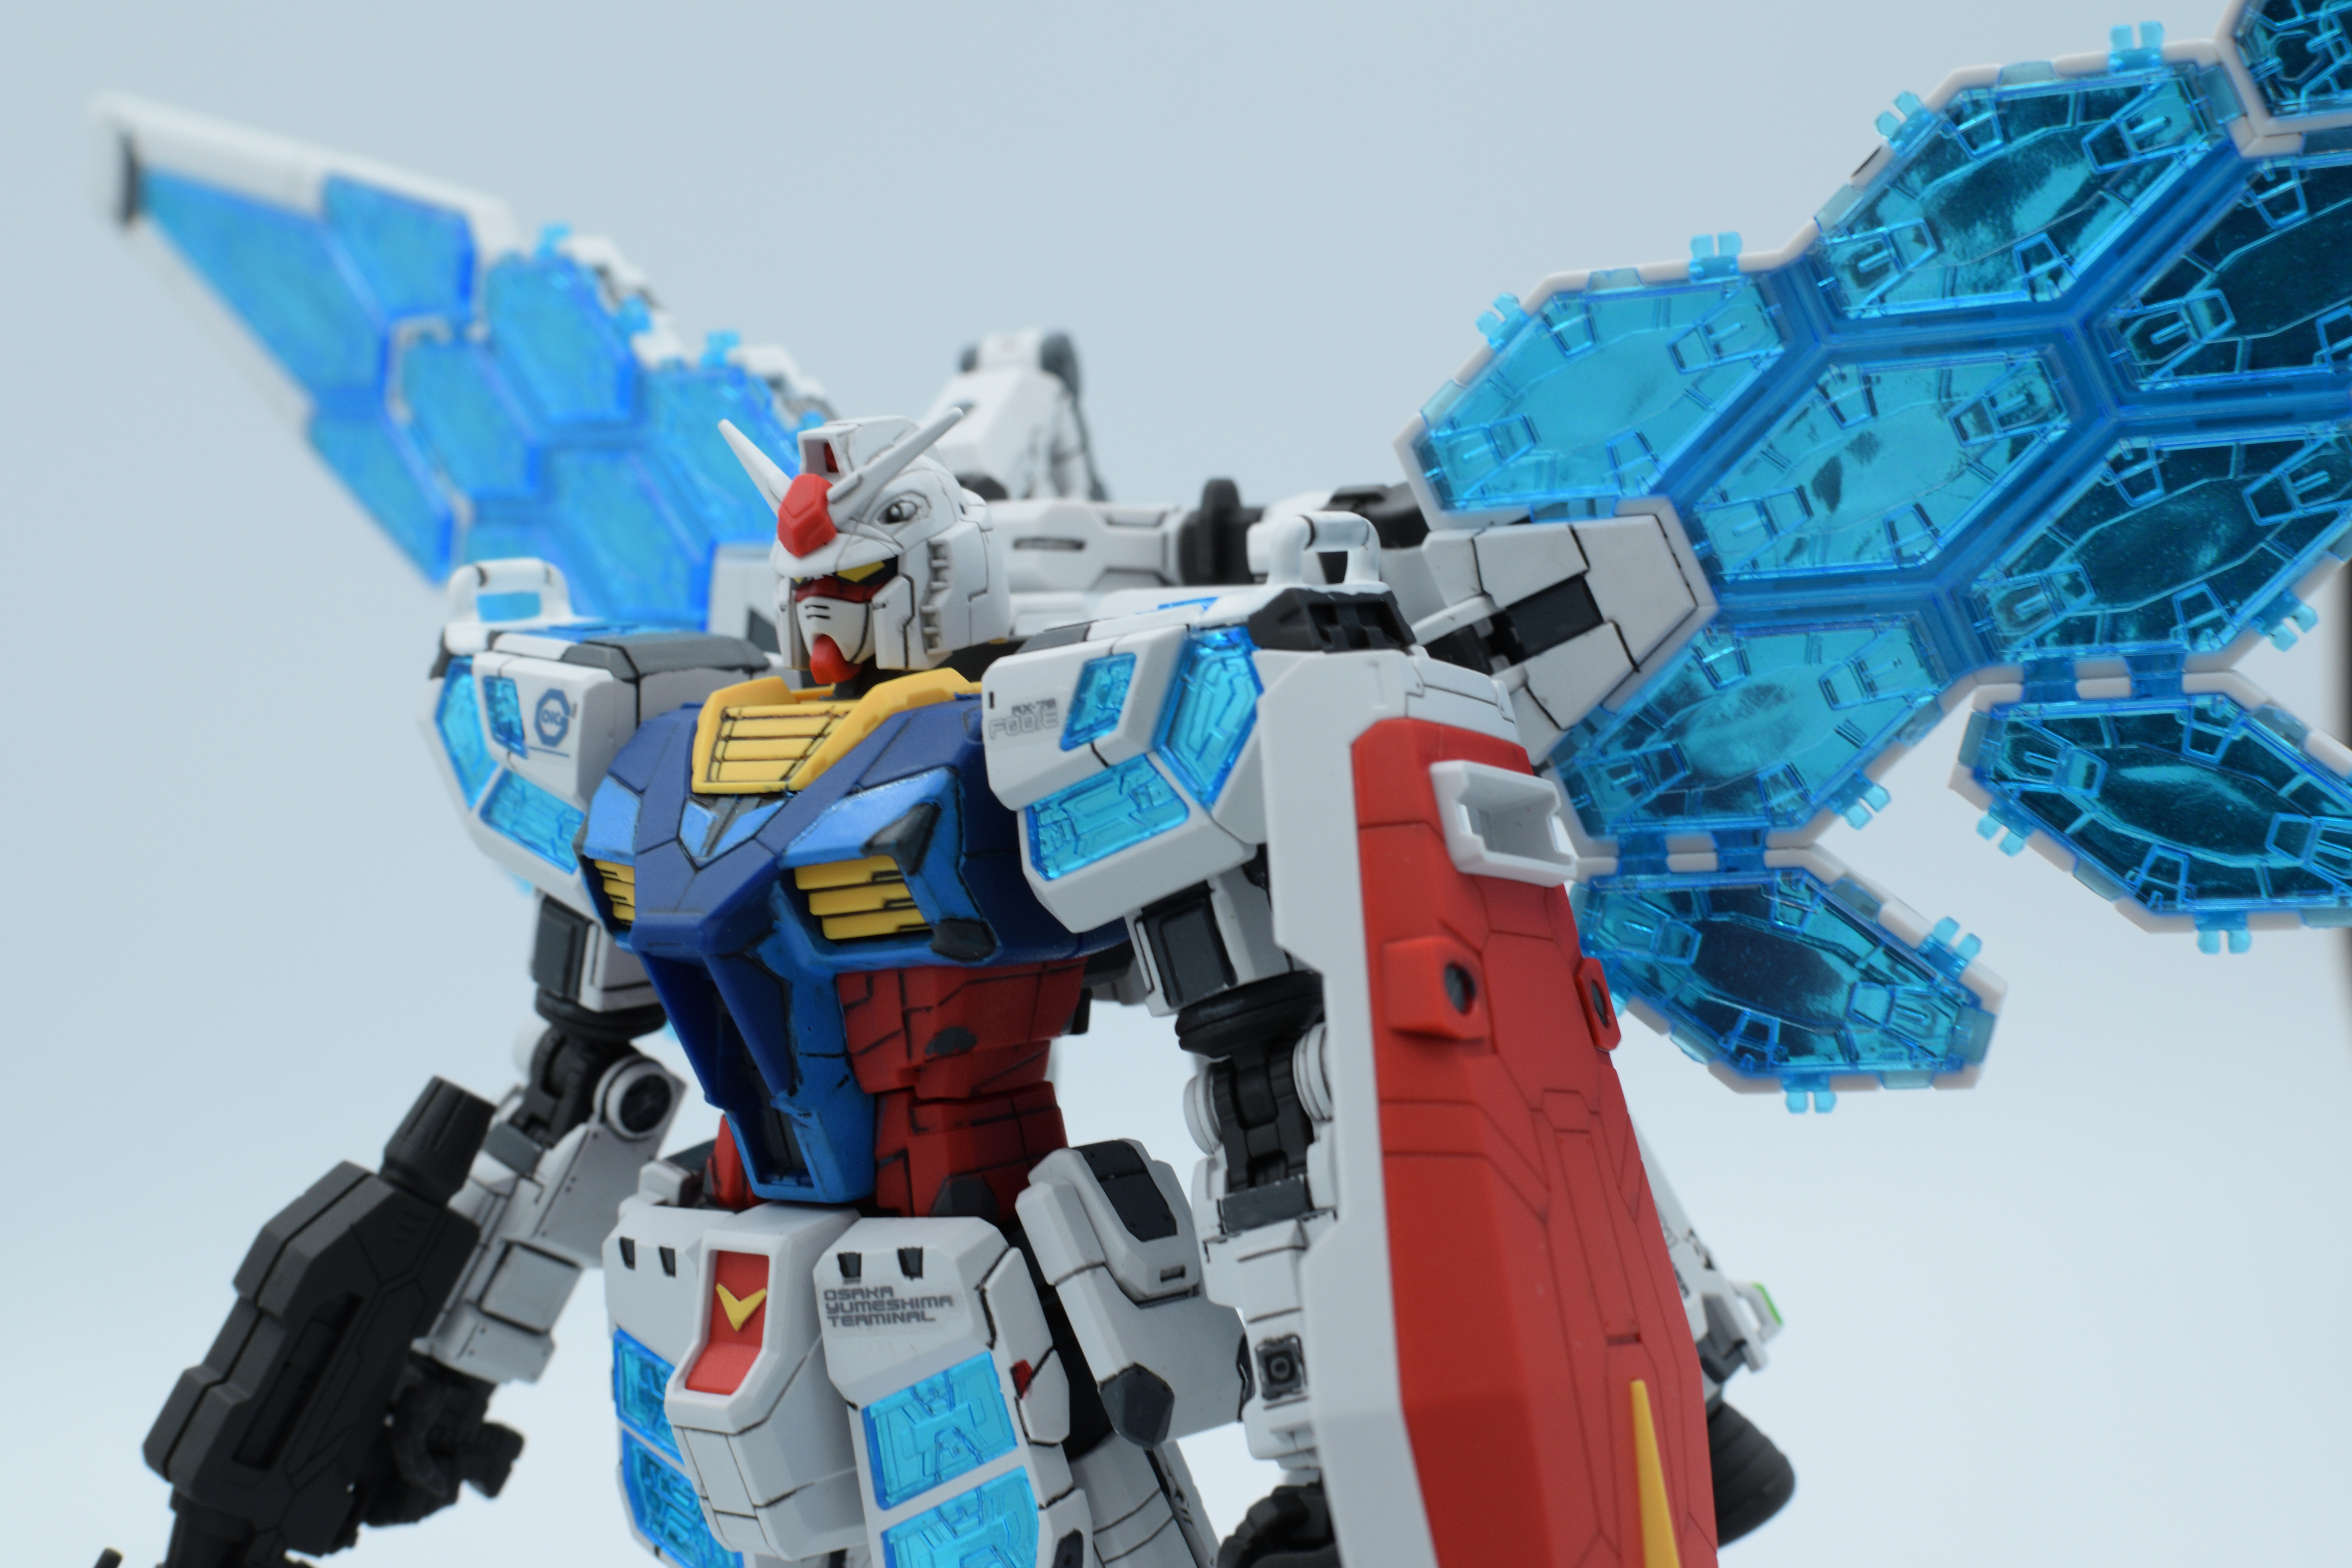
Based on the box art, and well, the actual statue itself, each color is supposed to be two-tone along with a bunch of tiny bits of dark gray plastered around the entire kit. Considering I didn’t really have any off-white/light gray paints on me, I went for the simpler approach of just two-toning the blue, the grays, the little bits of red and green, and gold for the yellow, and hooly shiiit that still took forever. There are soooo many little gray bits to fill, that while they are easy to do, the amount you have to do is still time consuming and even got my hand to cramp after a while. I haven’t done this much hand painting on a Gundam in forever, and the fact I was still not 100% accurate was absolute bonkers.
Now I do say this like all the time, but I eventually got lazy at the end of all of the detailing where I was repaneling the painted areas and hoped that it masked whatever mistakes or paint chips I made along the way. I was too exhausted to fix any more paint troubles at this point, so please mind how some areas may look like a mess. If this kit was a bit more color accurate out of the box or was just bigger, I think I would’ve had more motivation to fix everything. All what was left was doing a top coat, which I did an insane amount of masking on the clear pieces as taking them off and coating the reflective stickers would be just as bad, finished my matt clear can, and this super detailed RX-78F00/E was ready to pose!
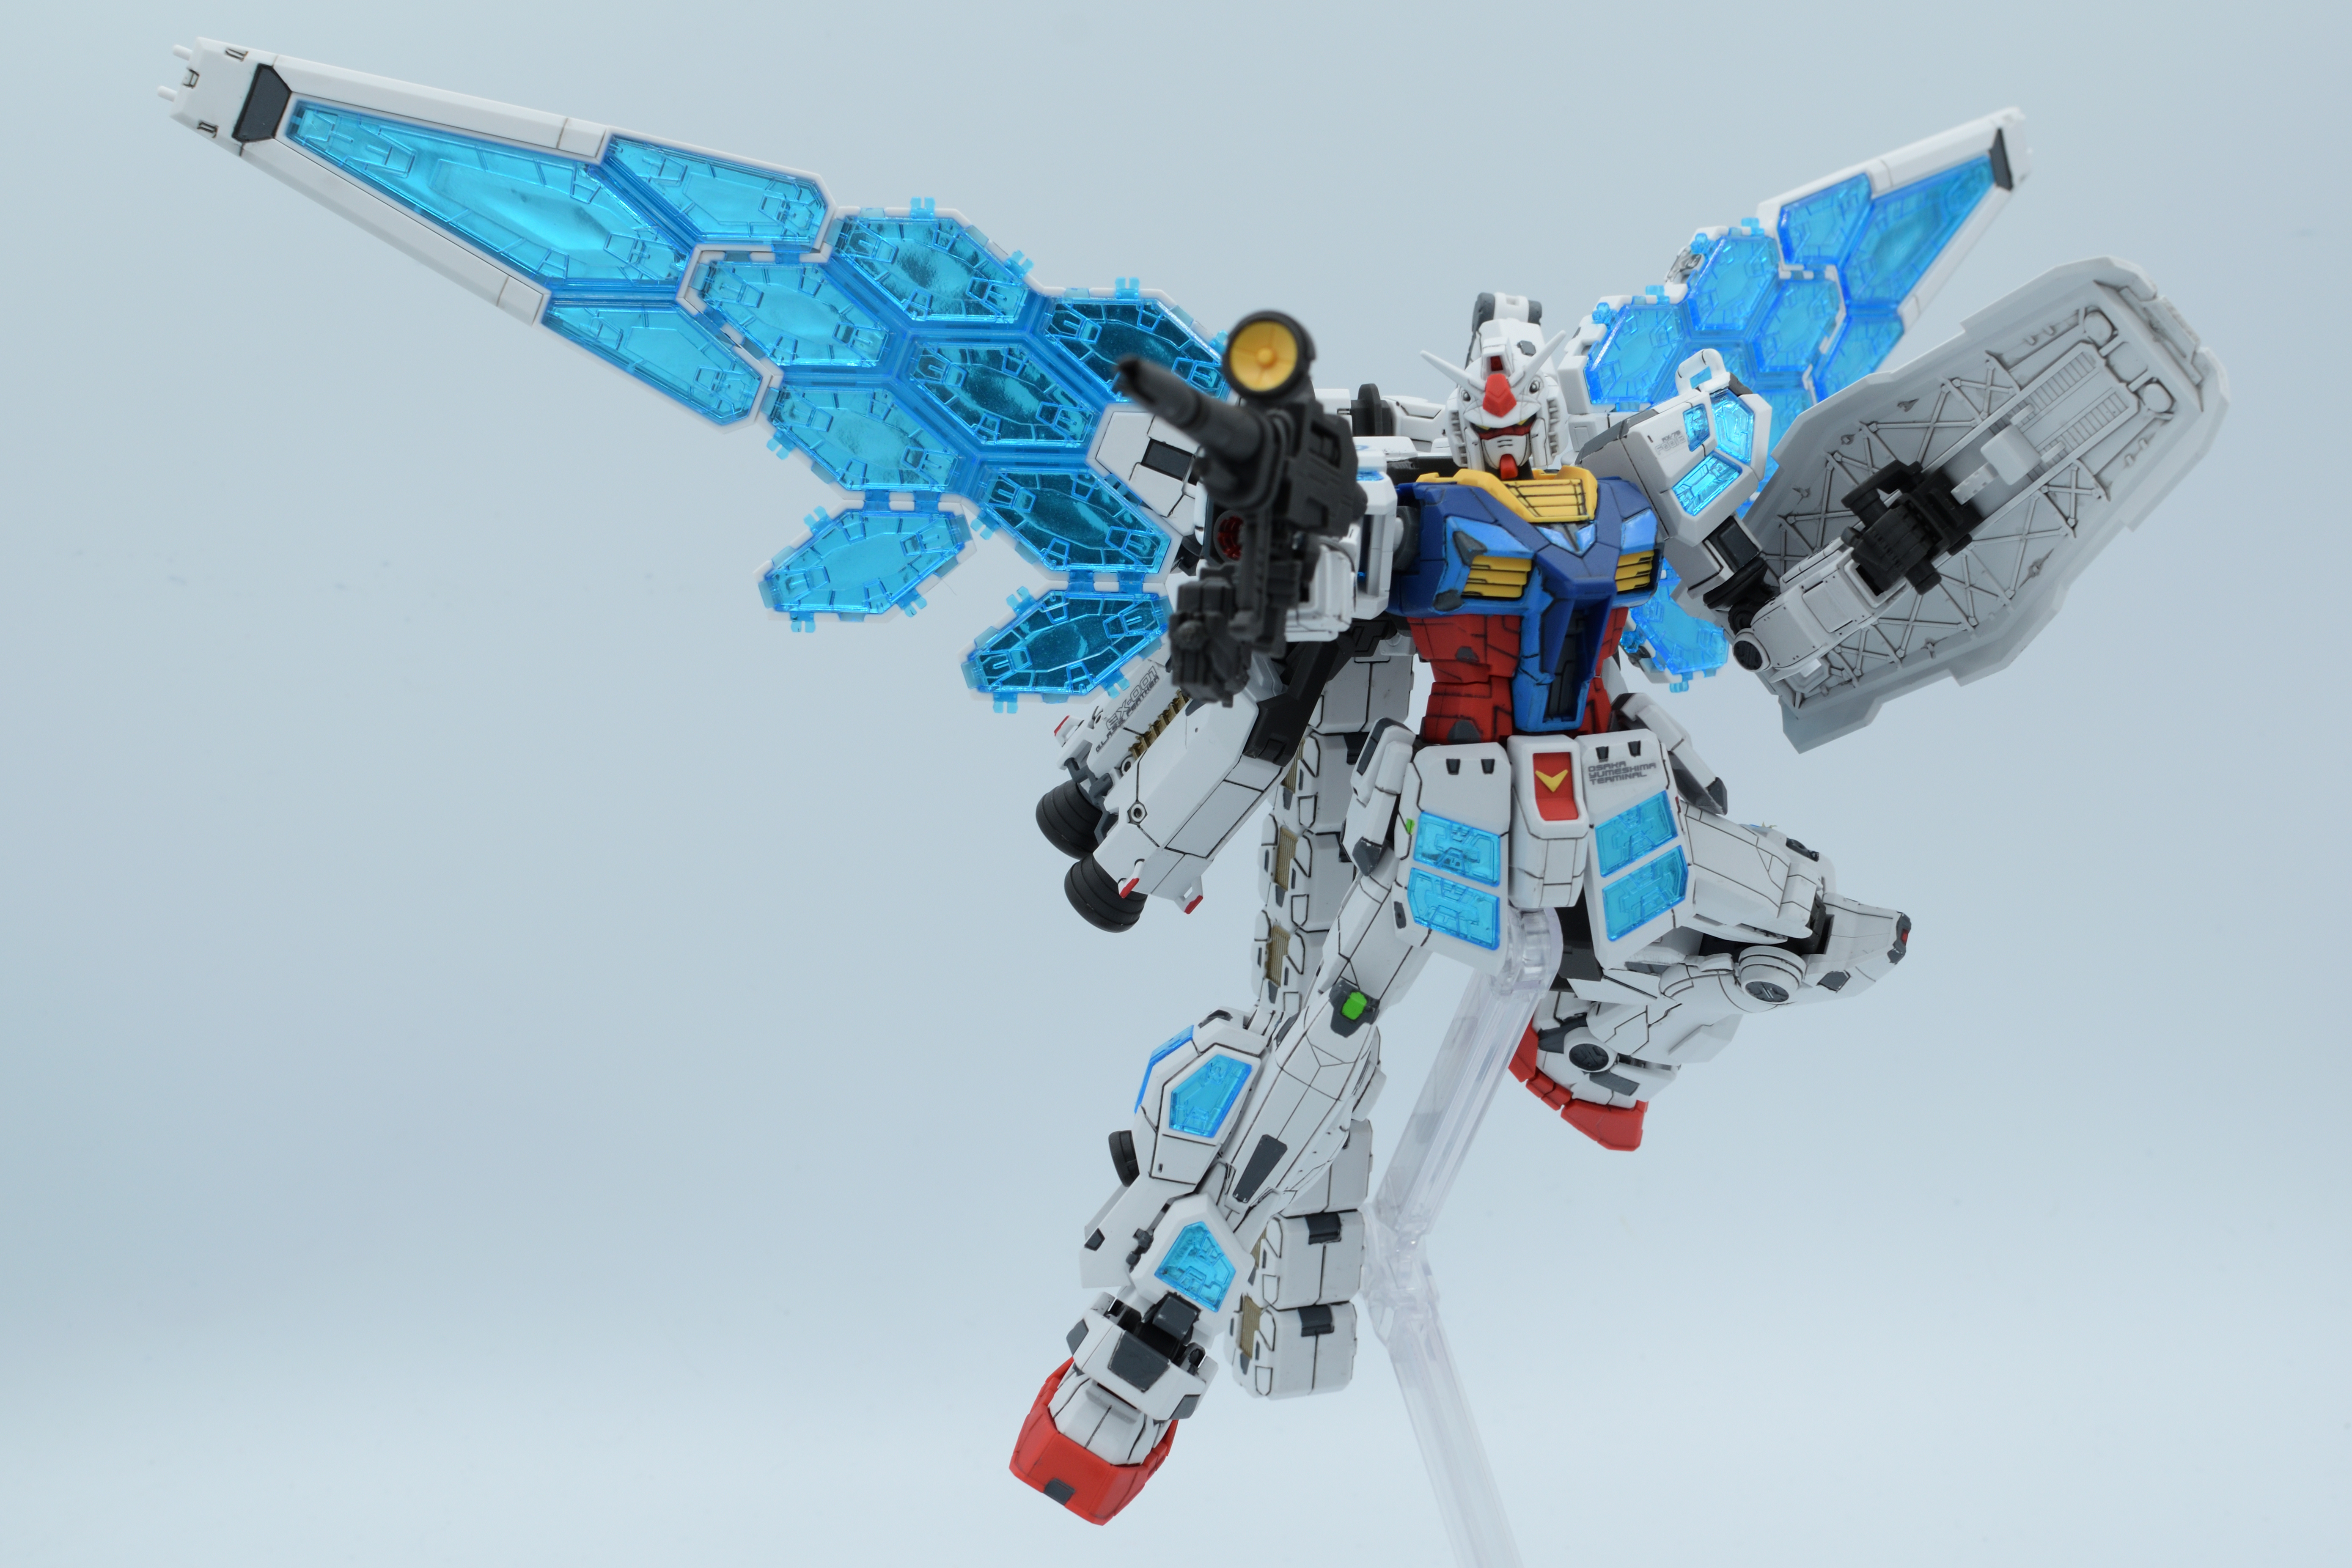
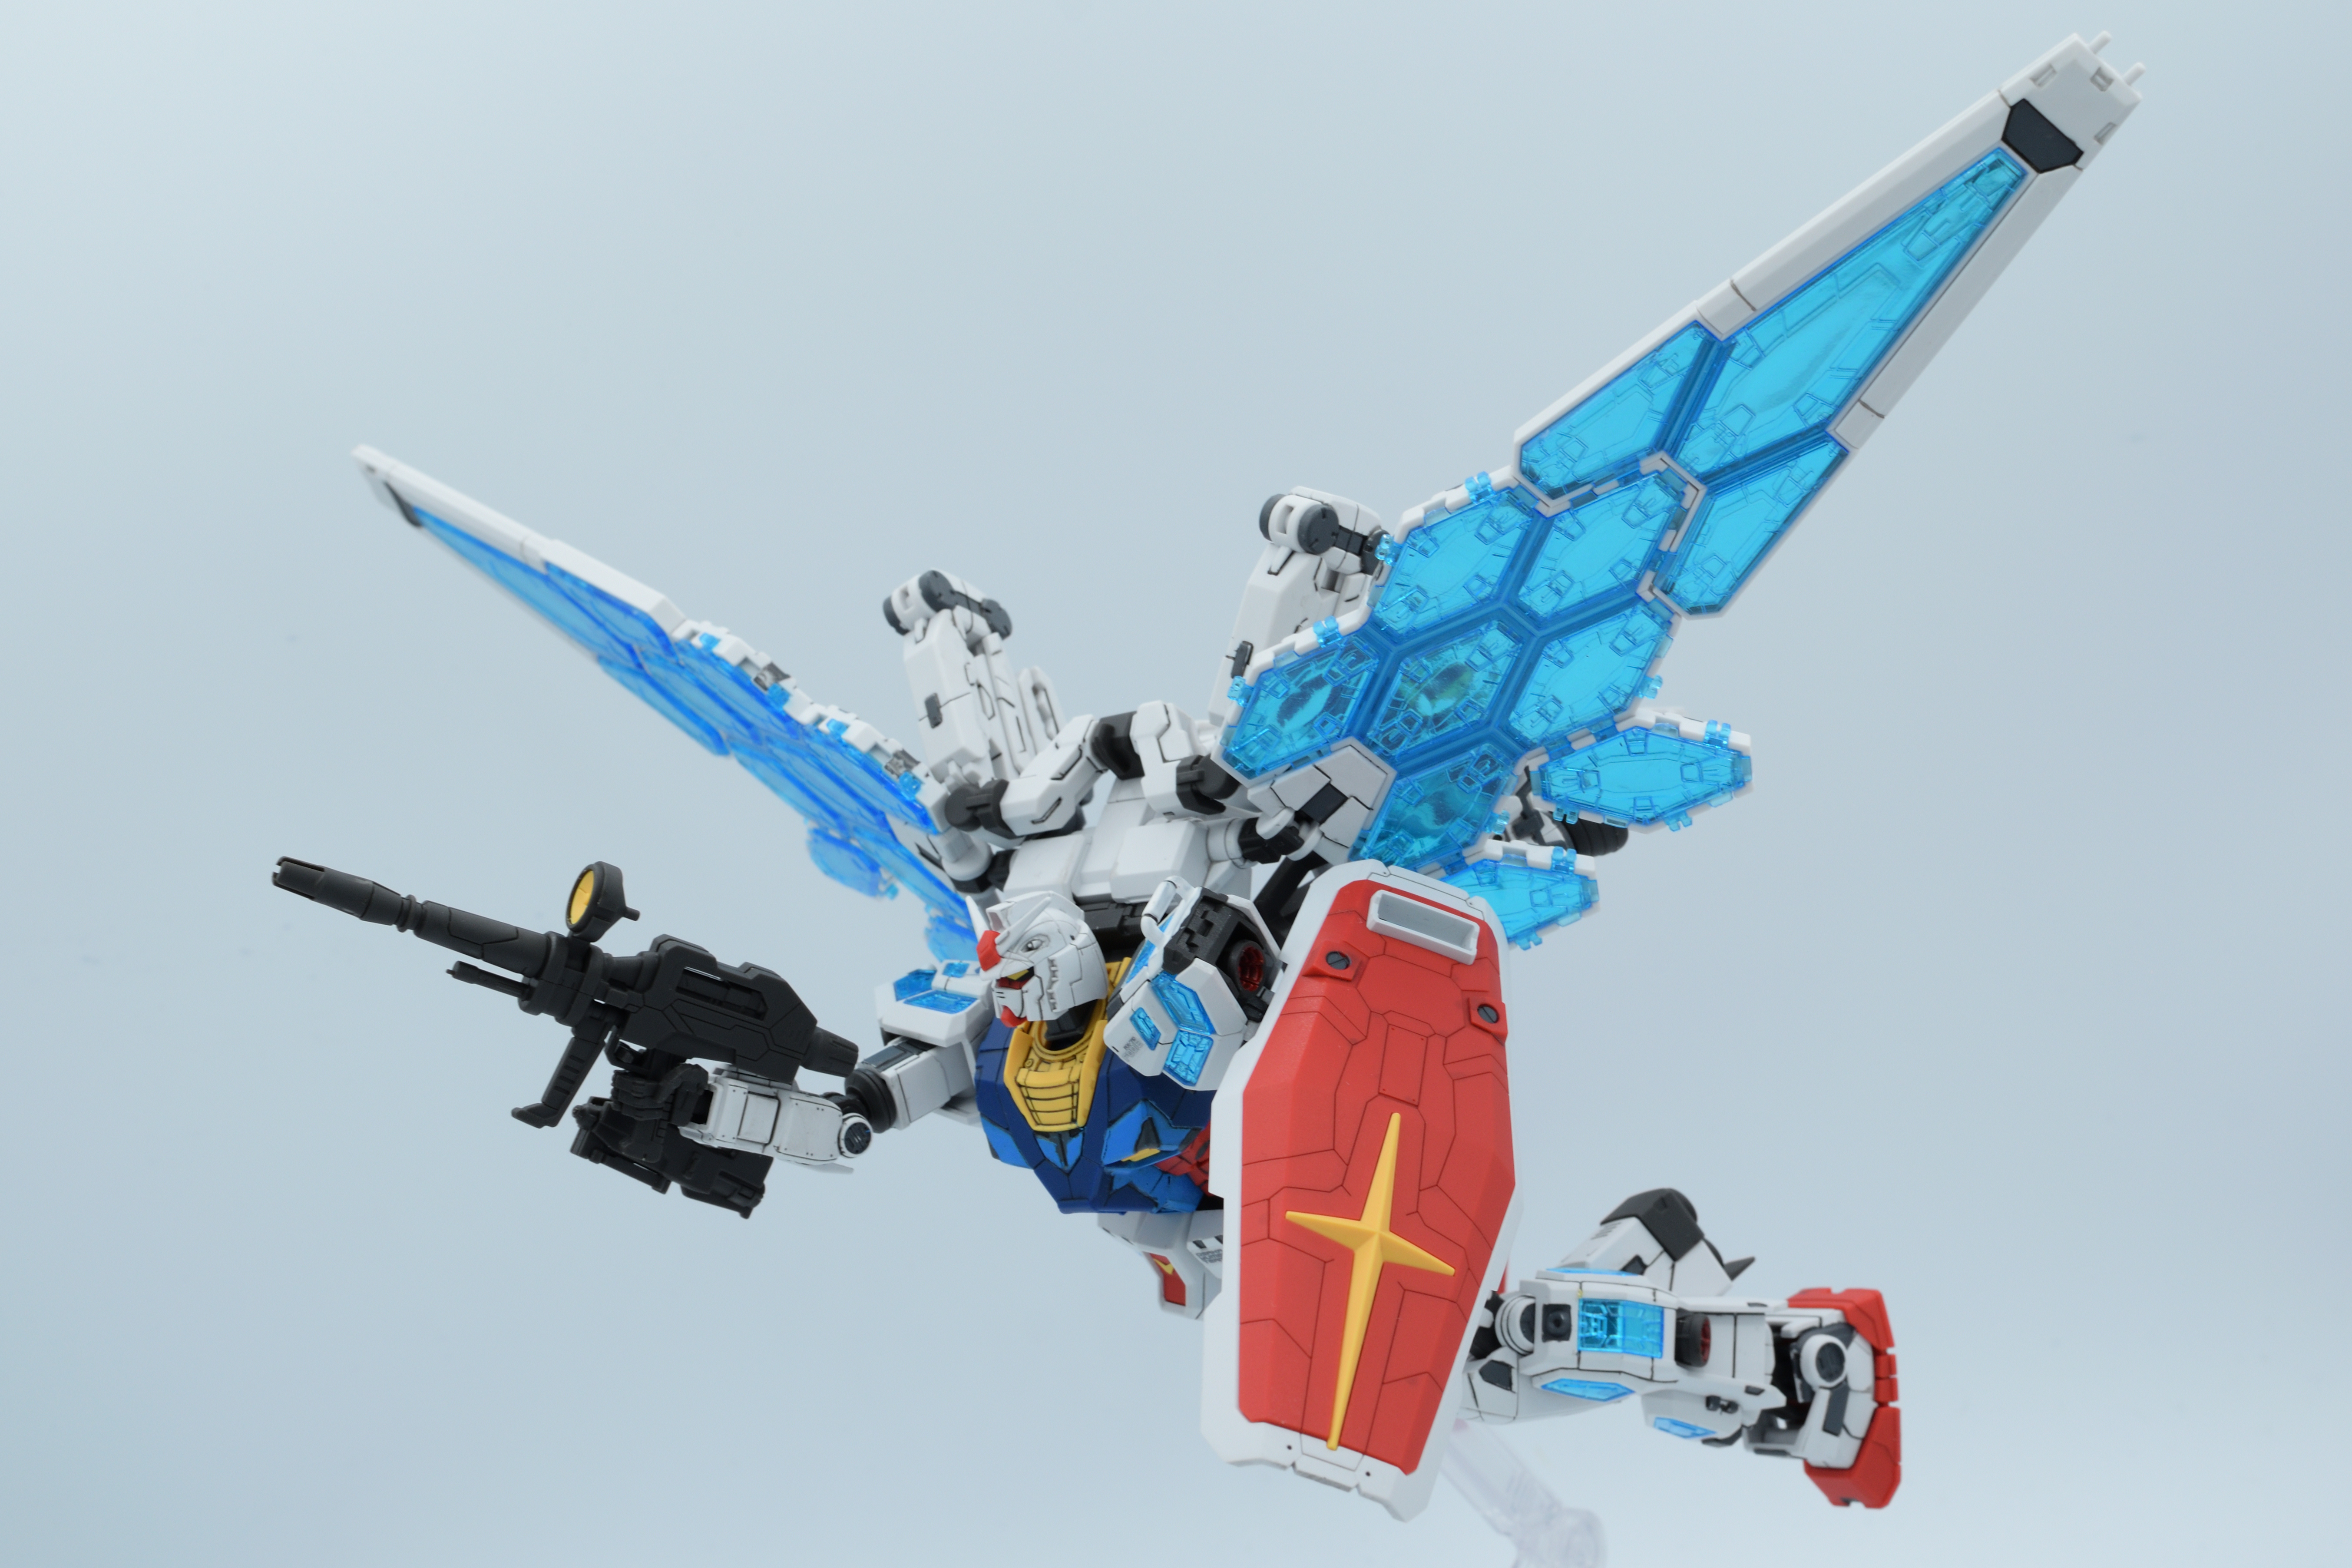
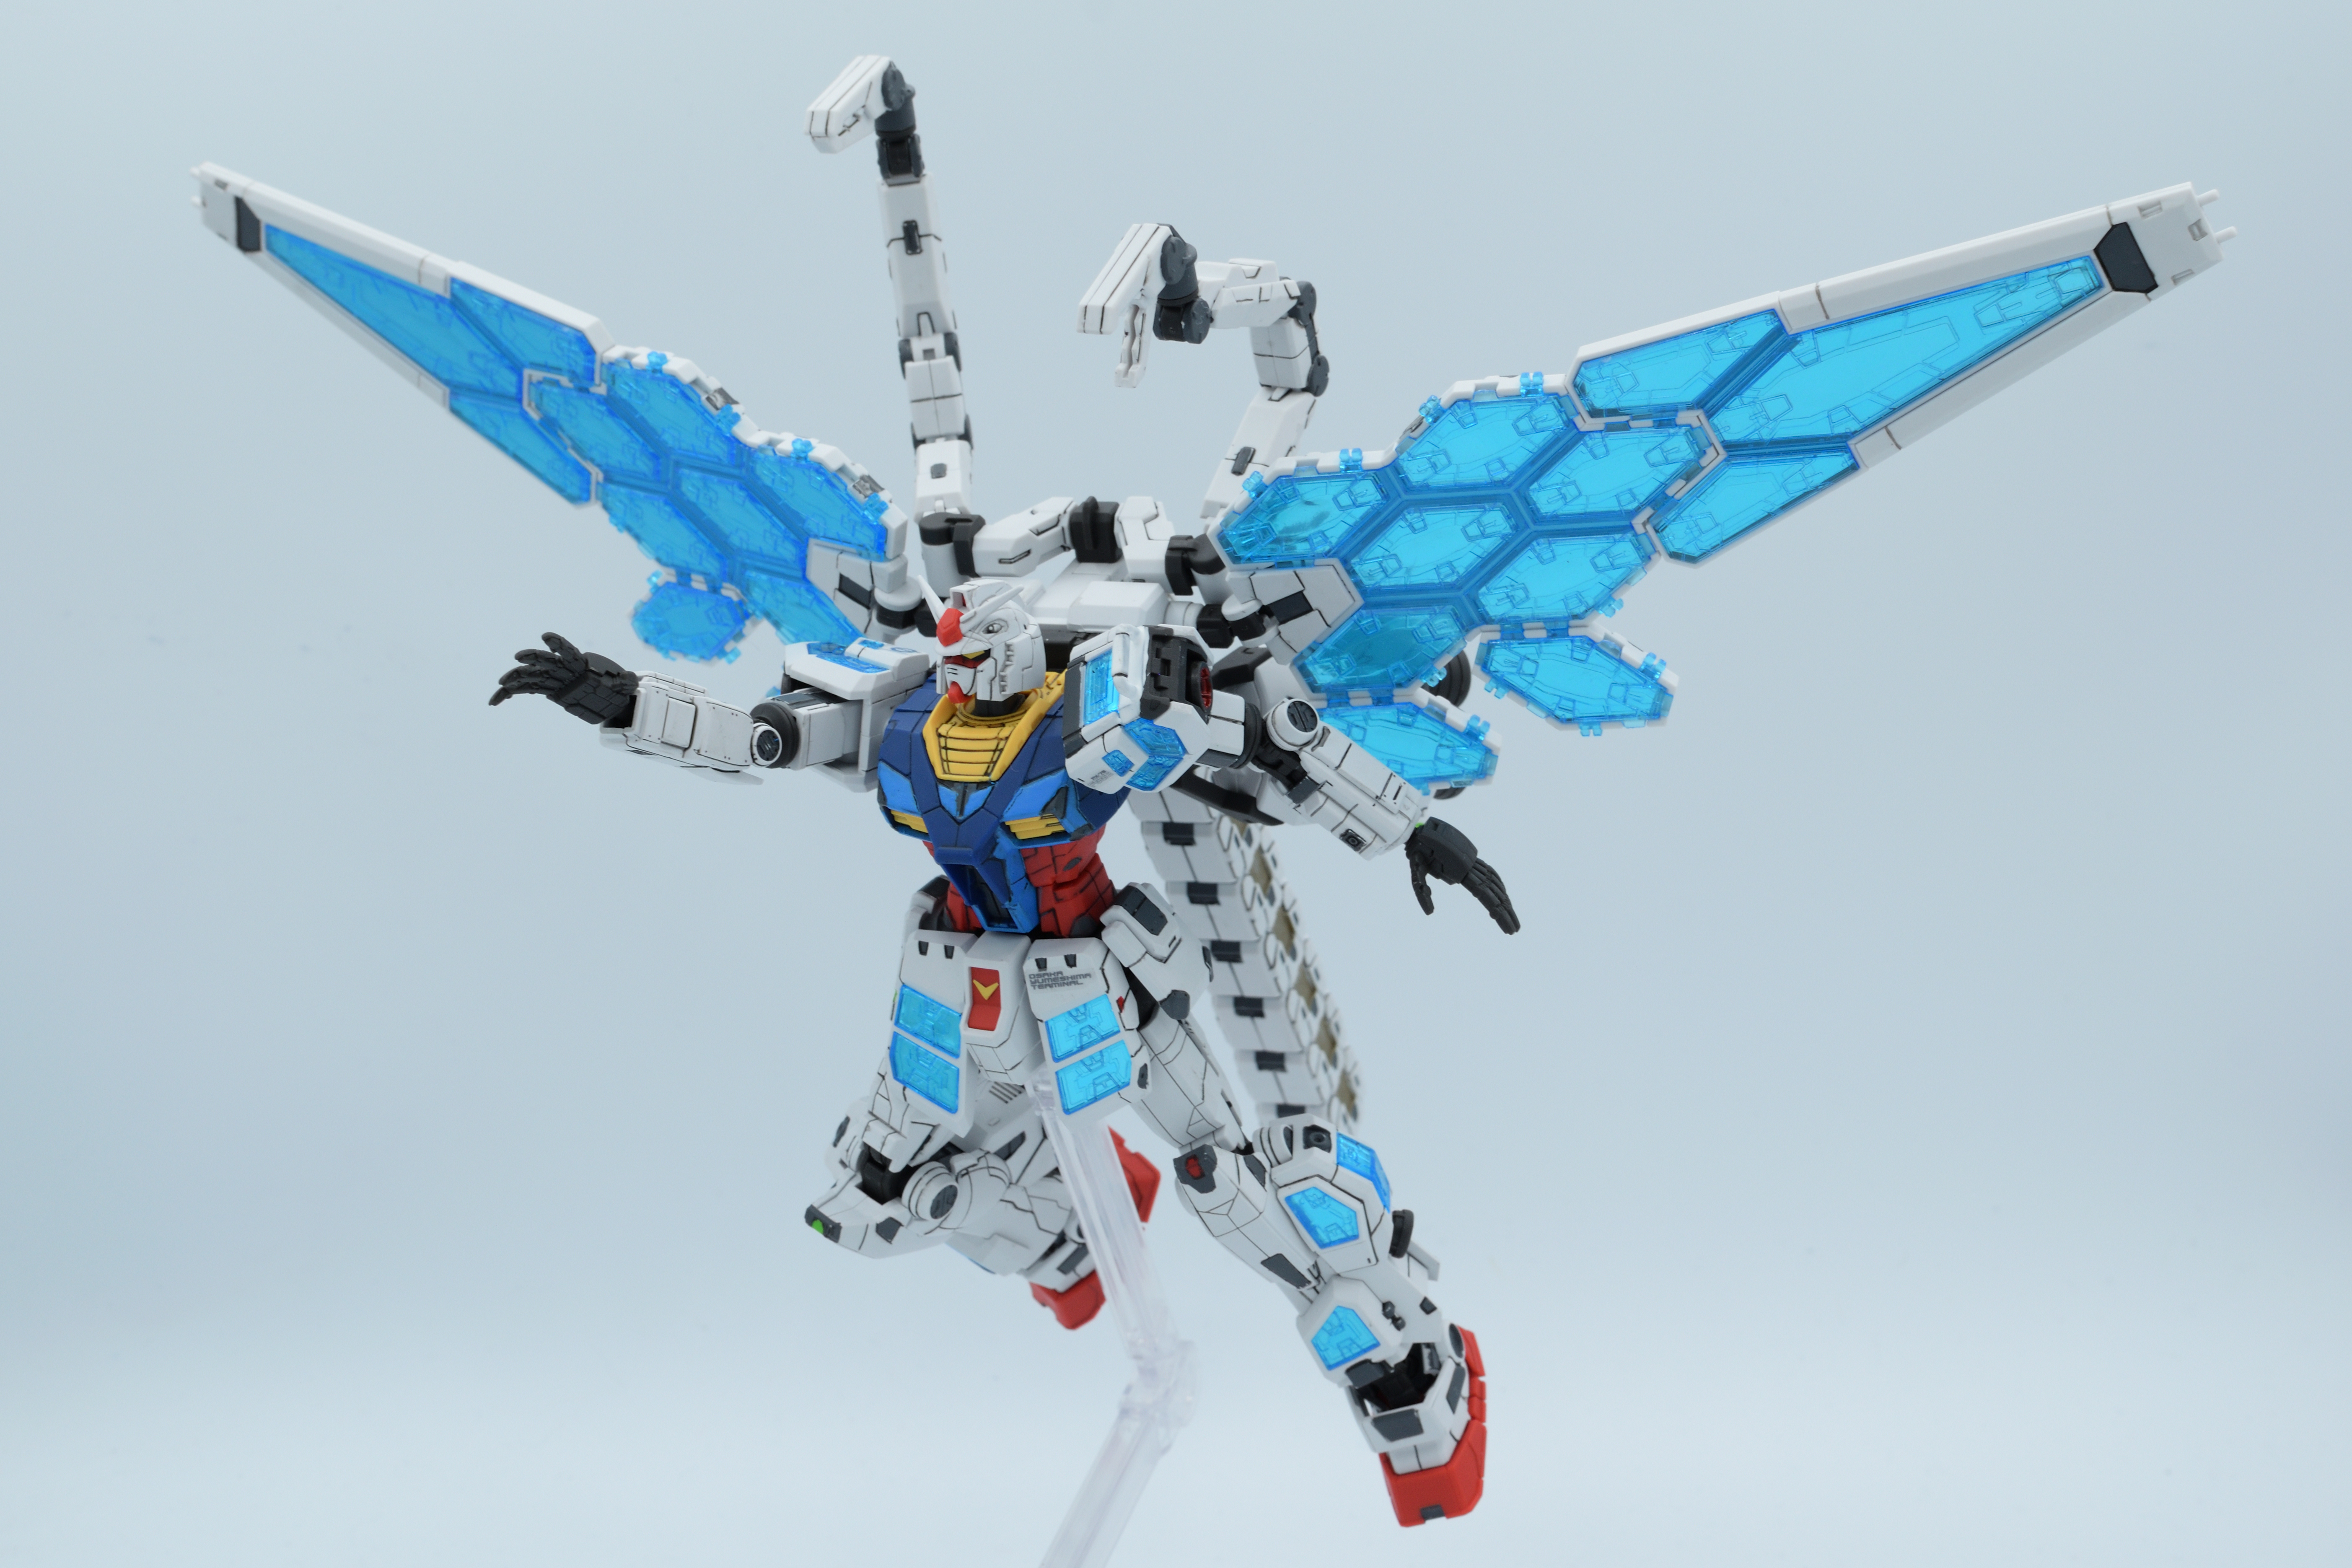
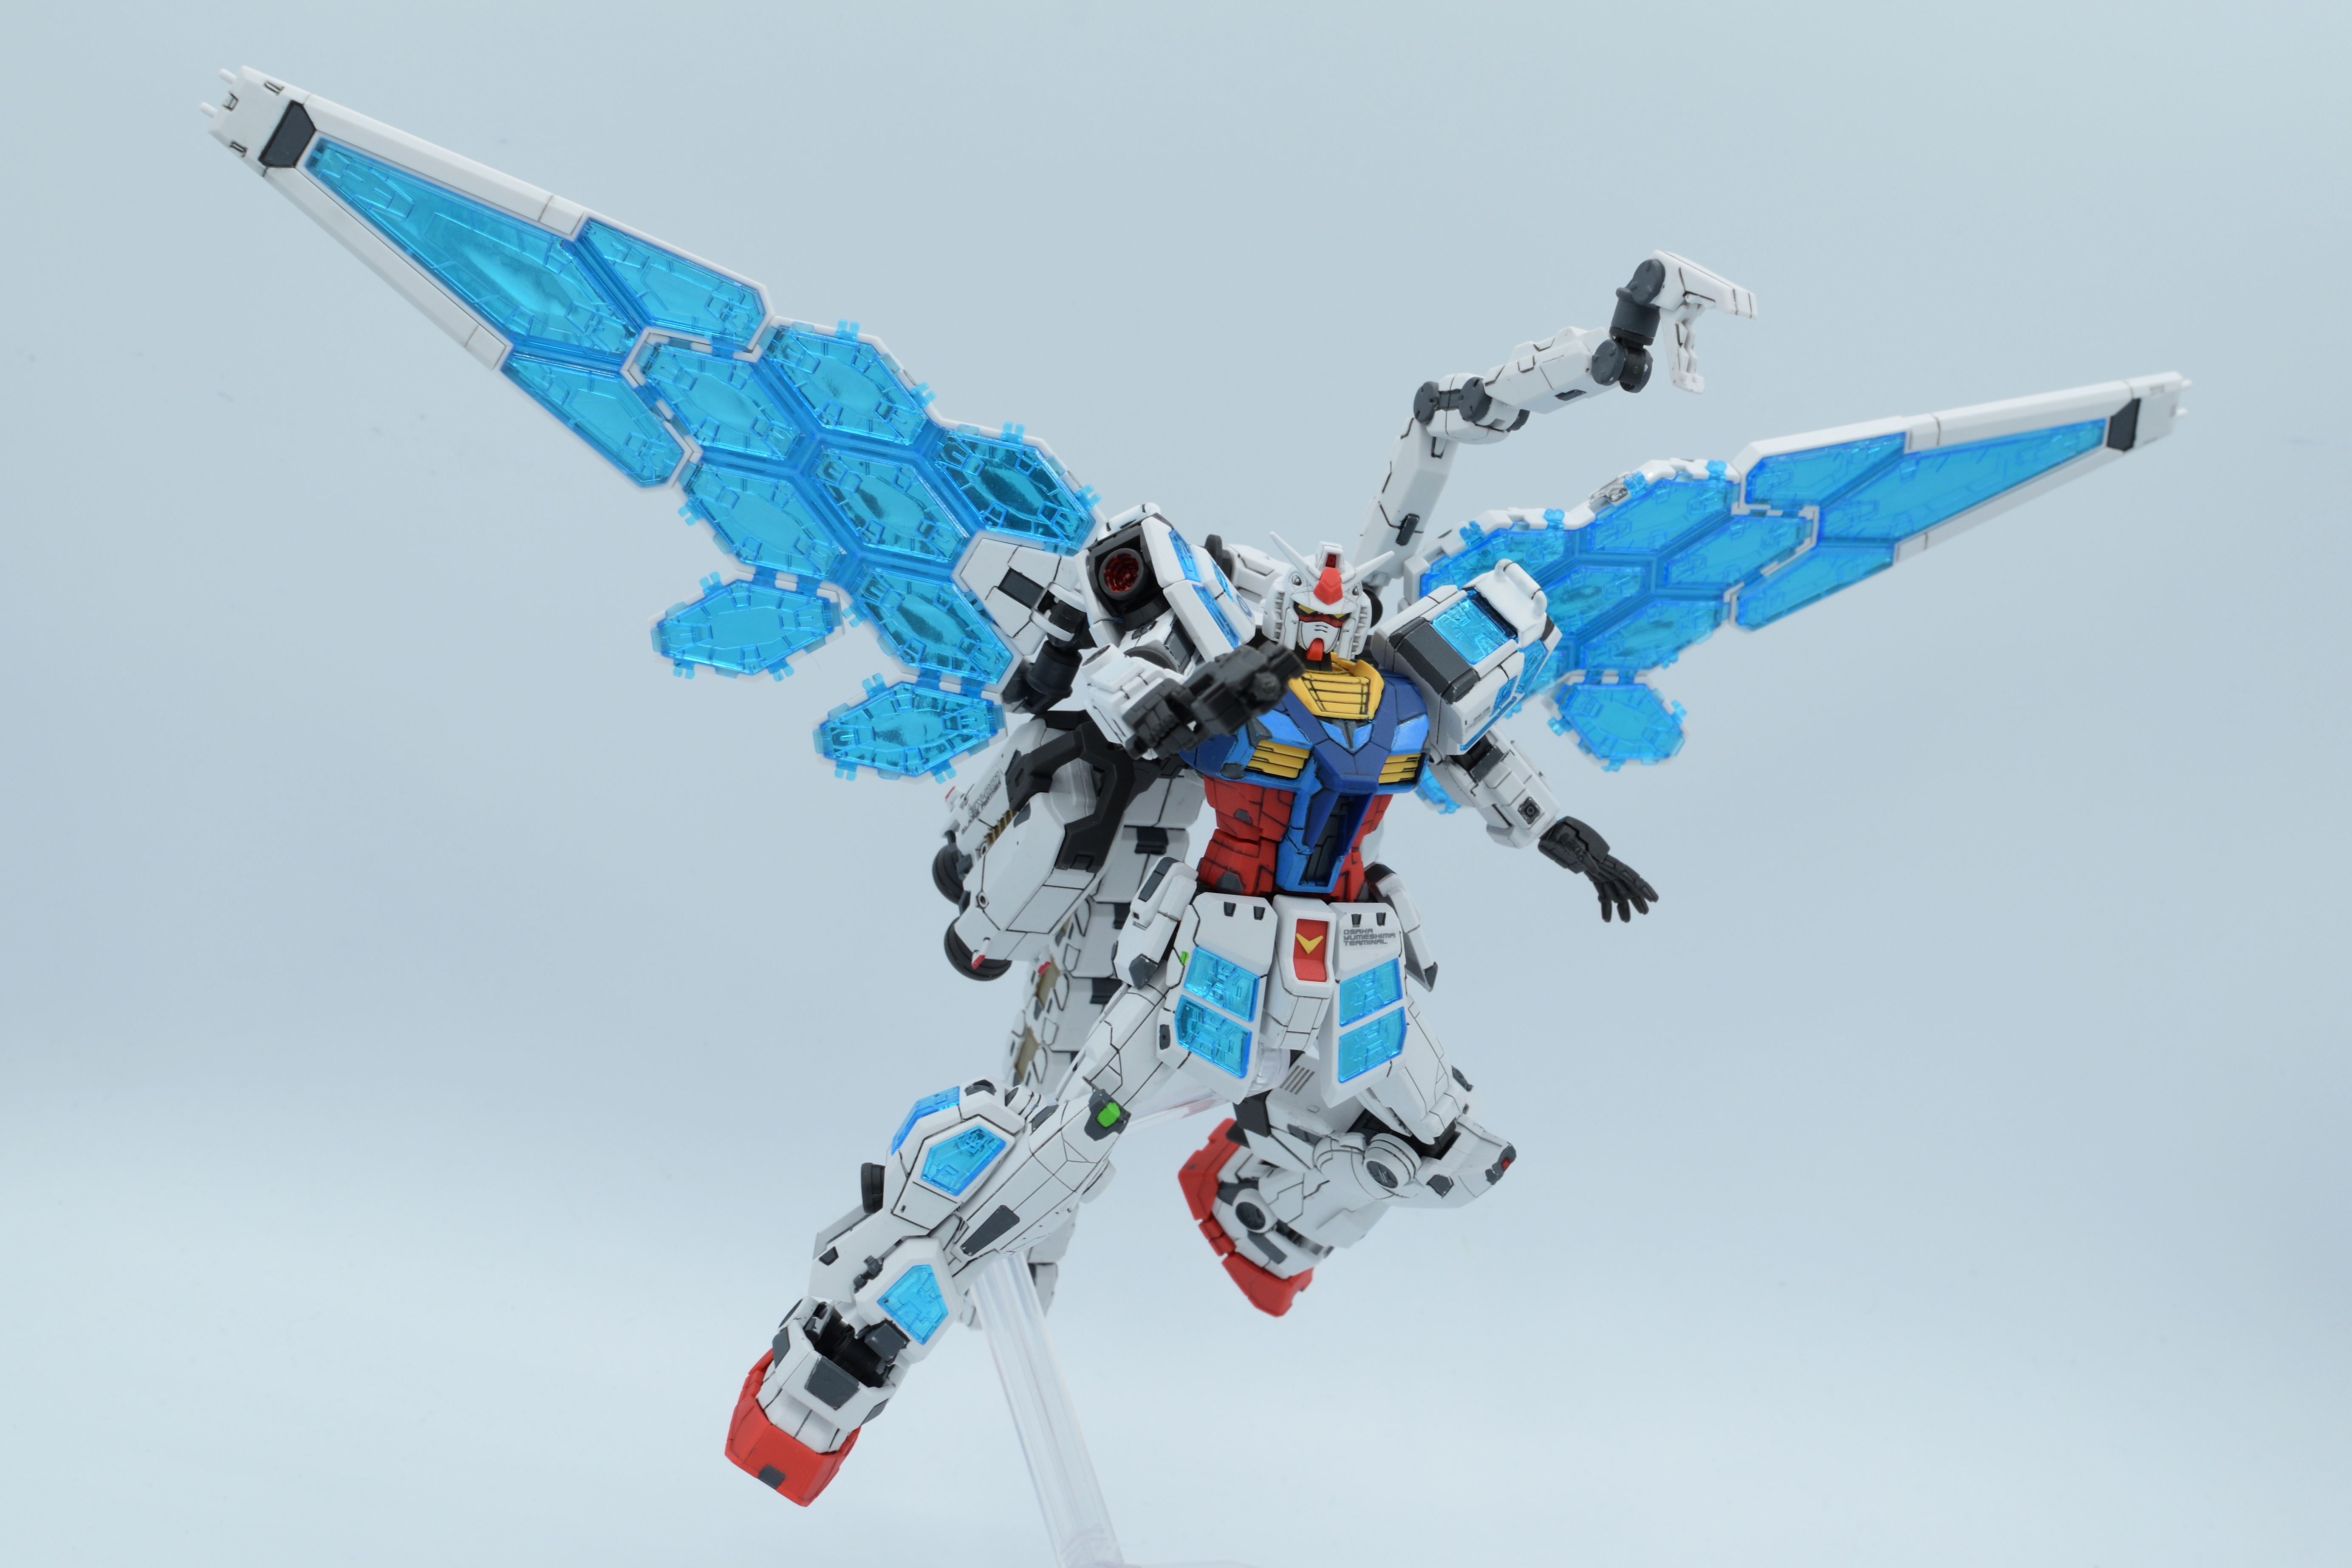
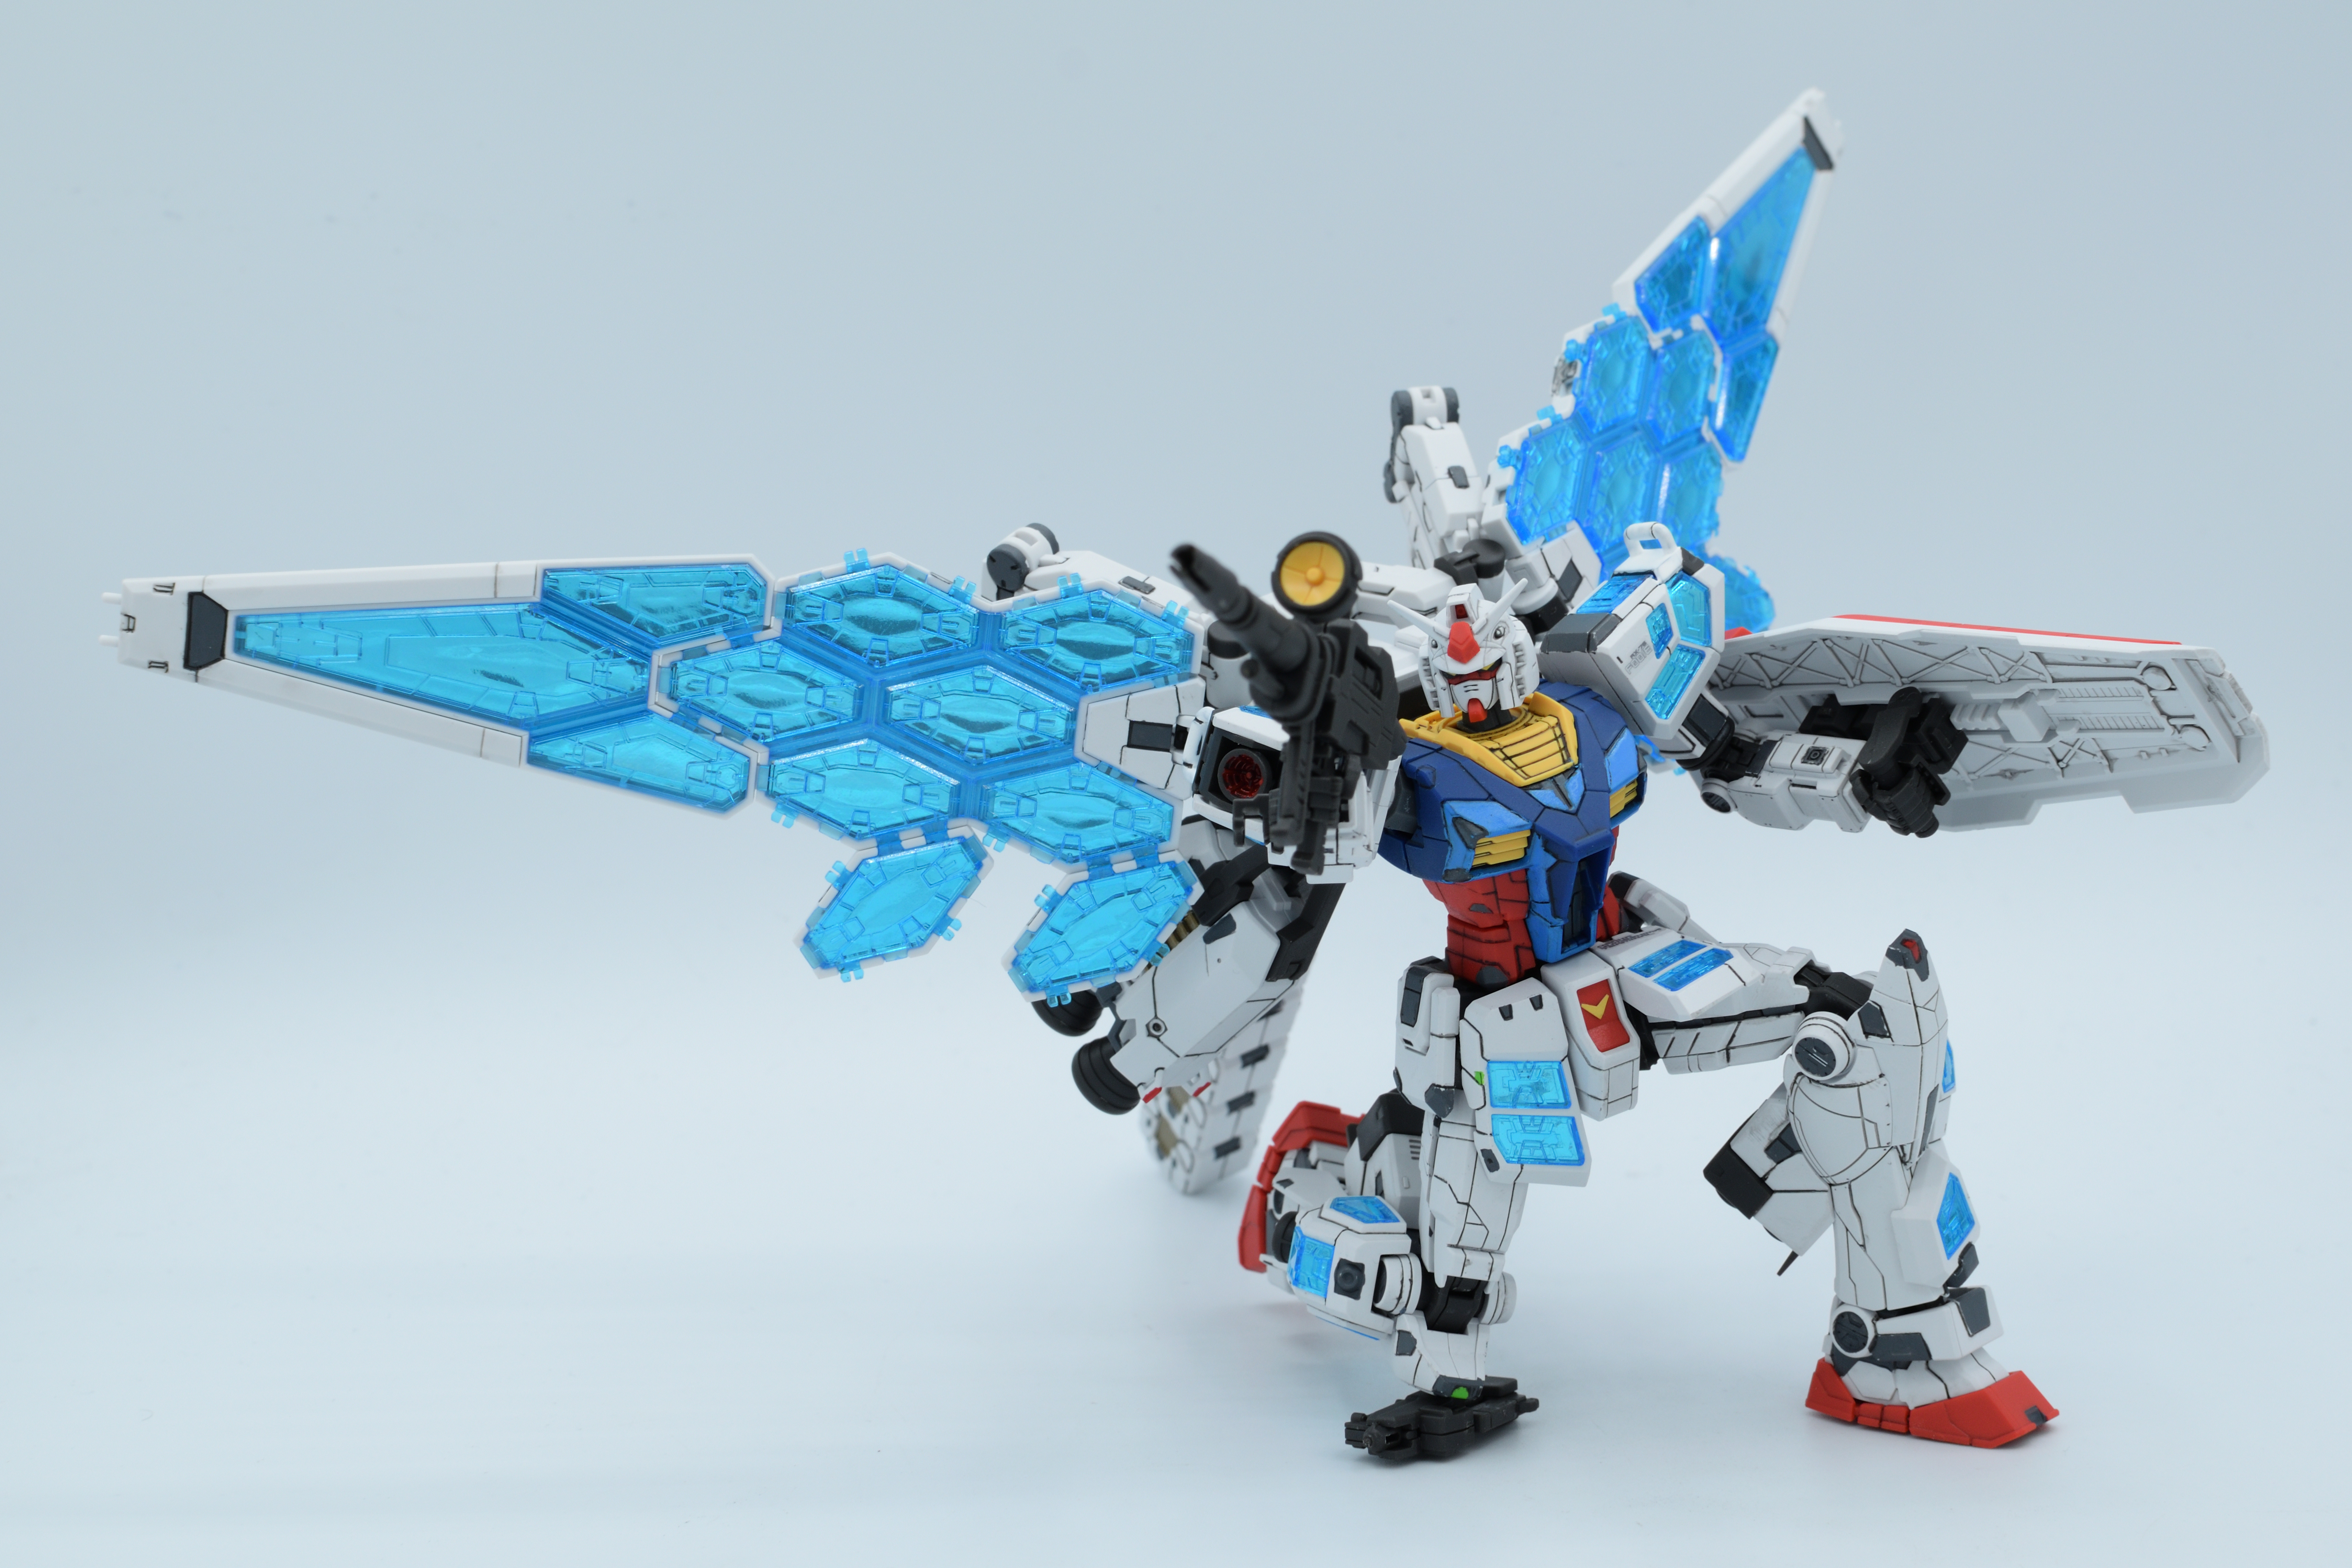
Fortunately, this Granddaddy can pose quite a bit, but it would also be concerning for the Moving Gundam not to pull poses. The giant booster tail-thingy acts as a tripod when needing to stand the Gundam up, and I’m very surprised how stable the kit is when connecting the Gundam on an action base at the hips. I figured it would lean back a lot considering the giant backpack, but no, it held up really well and getting aerial poses worked like a charm. The Gundam’s iconic beam rifle and shield worked wonders, while the beam spray gun was kinda goofy for how small it was, and the backpack’s claws were a nice addition. I would’ve liked to pose the kit with beam sabers, but again, I was kinda too lazy to detail the beam sabers and find any spare saber effects as the kit doesn’t come with any, and I skipped out on replicating the Osaka statue pose because… well, I’ll let you take a guess.
While exhausting as it was, this kit is a beauty and I never want to do something like this ever again. It’s a nice, hard-to-find kit to have in my collection, and if you’re able to find the kit and up for the task of detailing it as much as possible, it’s a good kit to have. That’s about it. Thanks for reading, and I’ll see you next time!