Built, paneled, decaled and coated.
It’s been a long while since I last built an MG (unless you count the Solomon Physalis as such), and this is surely one hell of a kit as my first MG of 2025. This is a commissioned build for a friend of my dad’s, which I kid you not that my dad made a fucking deal with him saying he (me) would build this for 2 Labubu dolls that he wanted to give my mom for her birthday (she’s obsessed with them). He offered me to build it, well, because it’s the goddamn Sazabi Ver.Ka which I’ve never built before, and while building it would be the reward itself, it would also take a lot of my precious free time modeling it, so he made a fair deal with me where I would be reimbursed with an HG Psycho Gundam Mk-II.
Anyway, I remember first getting into Gunpla back in 2016 and first discovering the Sazabi Ver.Ka, when it was viewed as the King of MGs at the time and it was a BIIIIG kit, basically dwarfing anything else aside from the Perfect Zeong. My dad was the one who built the Sazabi on our shelf, painted, detailed and equipped with giant gatling guns, and even though this was built before he started pre-shading, it still holds a lot of shelf presence. It was kits like these that made me believe in MG Supremacy, but the Gunpla scene has changed so much since then, MGs are sadly sparse as shit, and every other grade has evolved a lot, that I had an unbelievable thought coming into this build—“Has this kit aged well?”
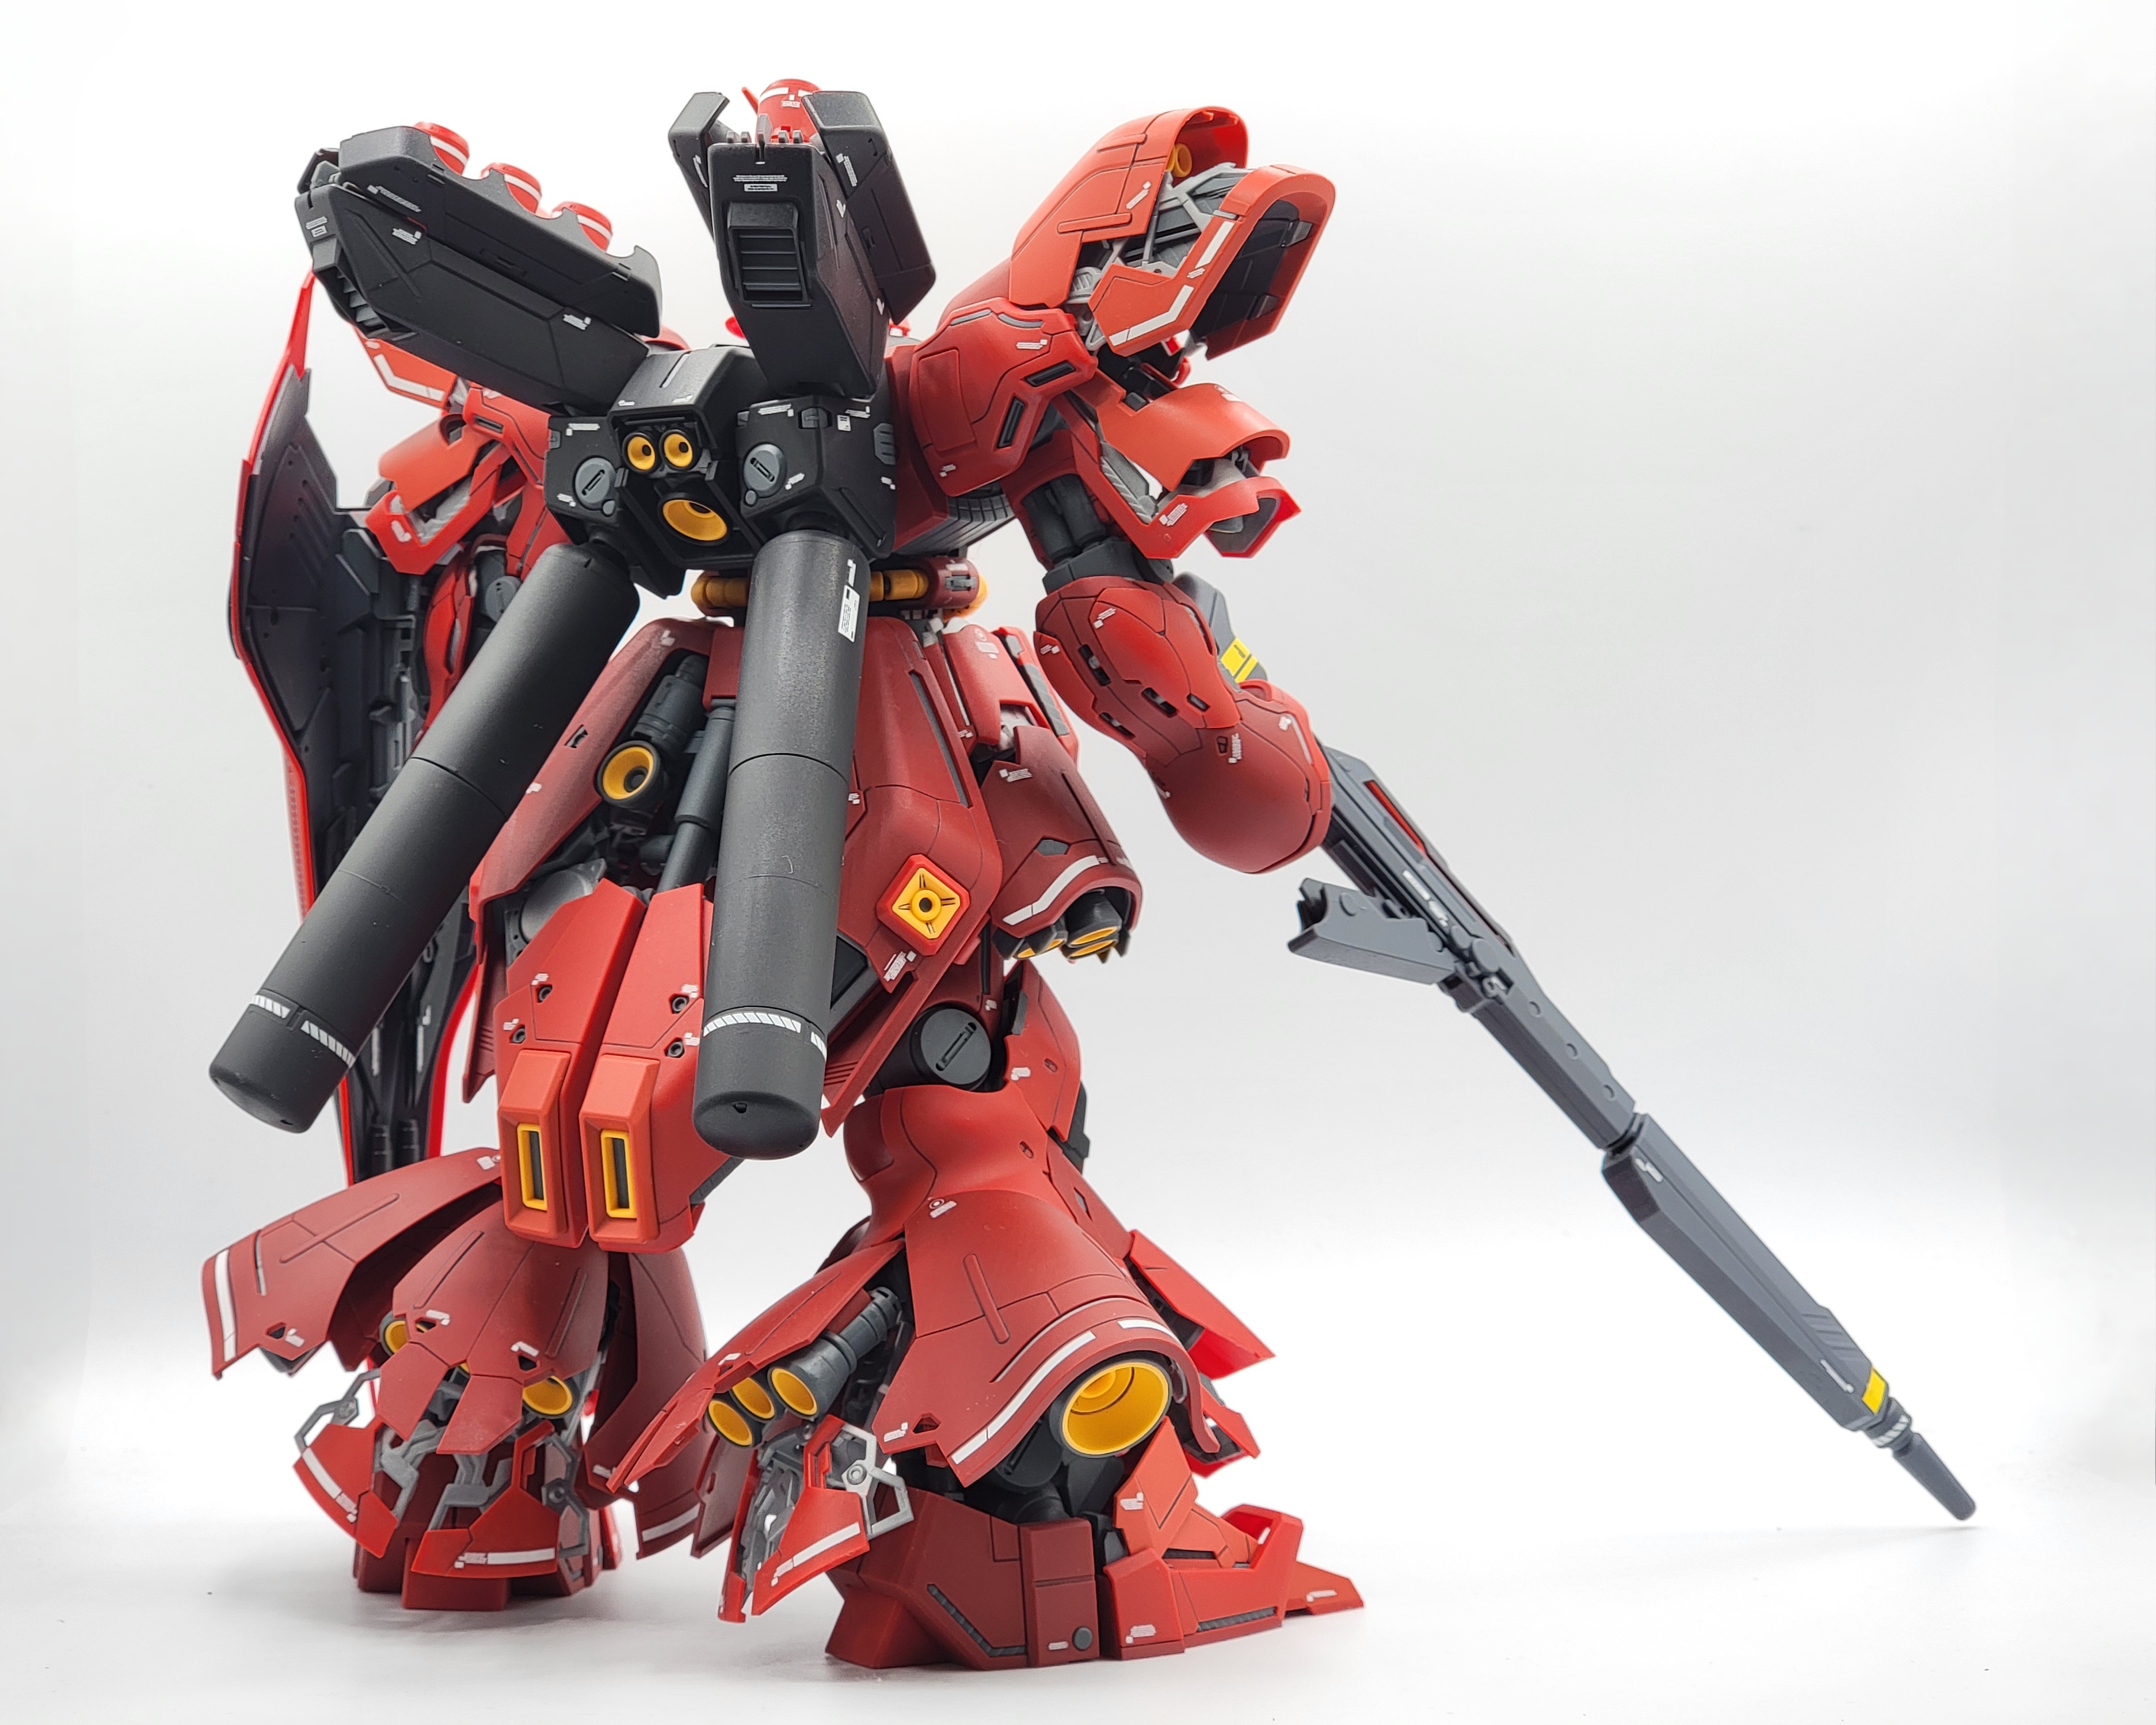
First of all, getting the runners laid out there is just an overwhelming amount of plastic that looks pretty daunting, but once you start building it, you realize it’s not bad as it looks. I just finished HG GQuuuuuuuX which exhausted me in more ways than one, which somehow building the Sazabi was smoother and more straightforward. Of course, I had to build it frame first, and while you get a complete inner frame, it does kinda look barebones aside from areas that poke out through the armor. While building the frame up, two things stuck out in my mind—1. holy shit this kit is big and 2. Why are they using the same polycaps from the original MG Sazabi from 2000 and why are they using a majority of them? I knew that my dad’s Sazabi had become terribly weak, but I didn’t think the Ver.Ka was using old ass polycaps to hold the kit together. The hips being ball jointed with polycap sockets is quite a letdown, but I didn’t really have plans to pose the Sazabi in the first place as I’d have no space to take good full body shots in my light box.
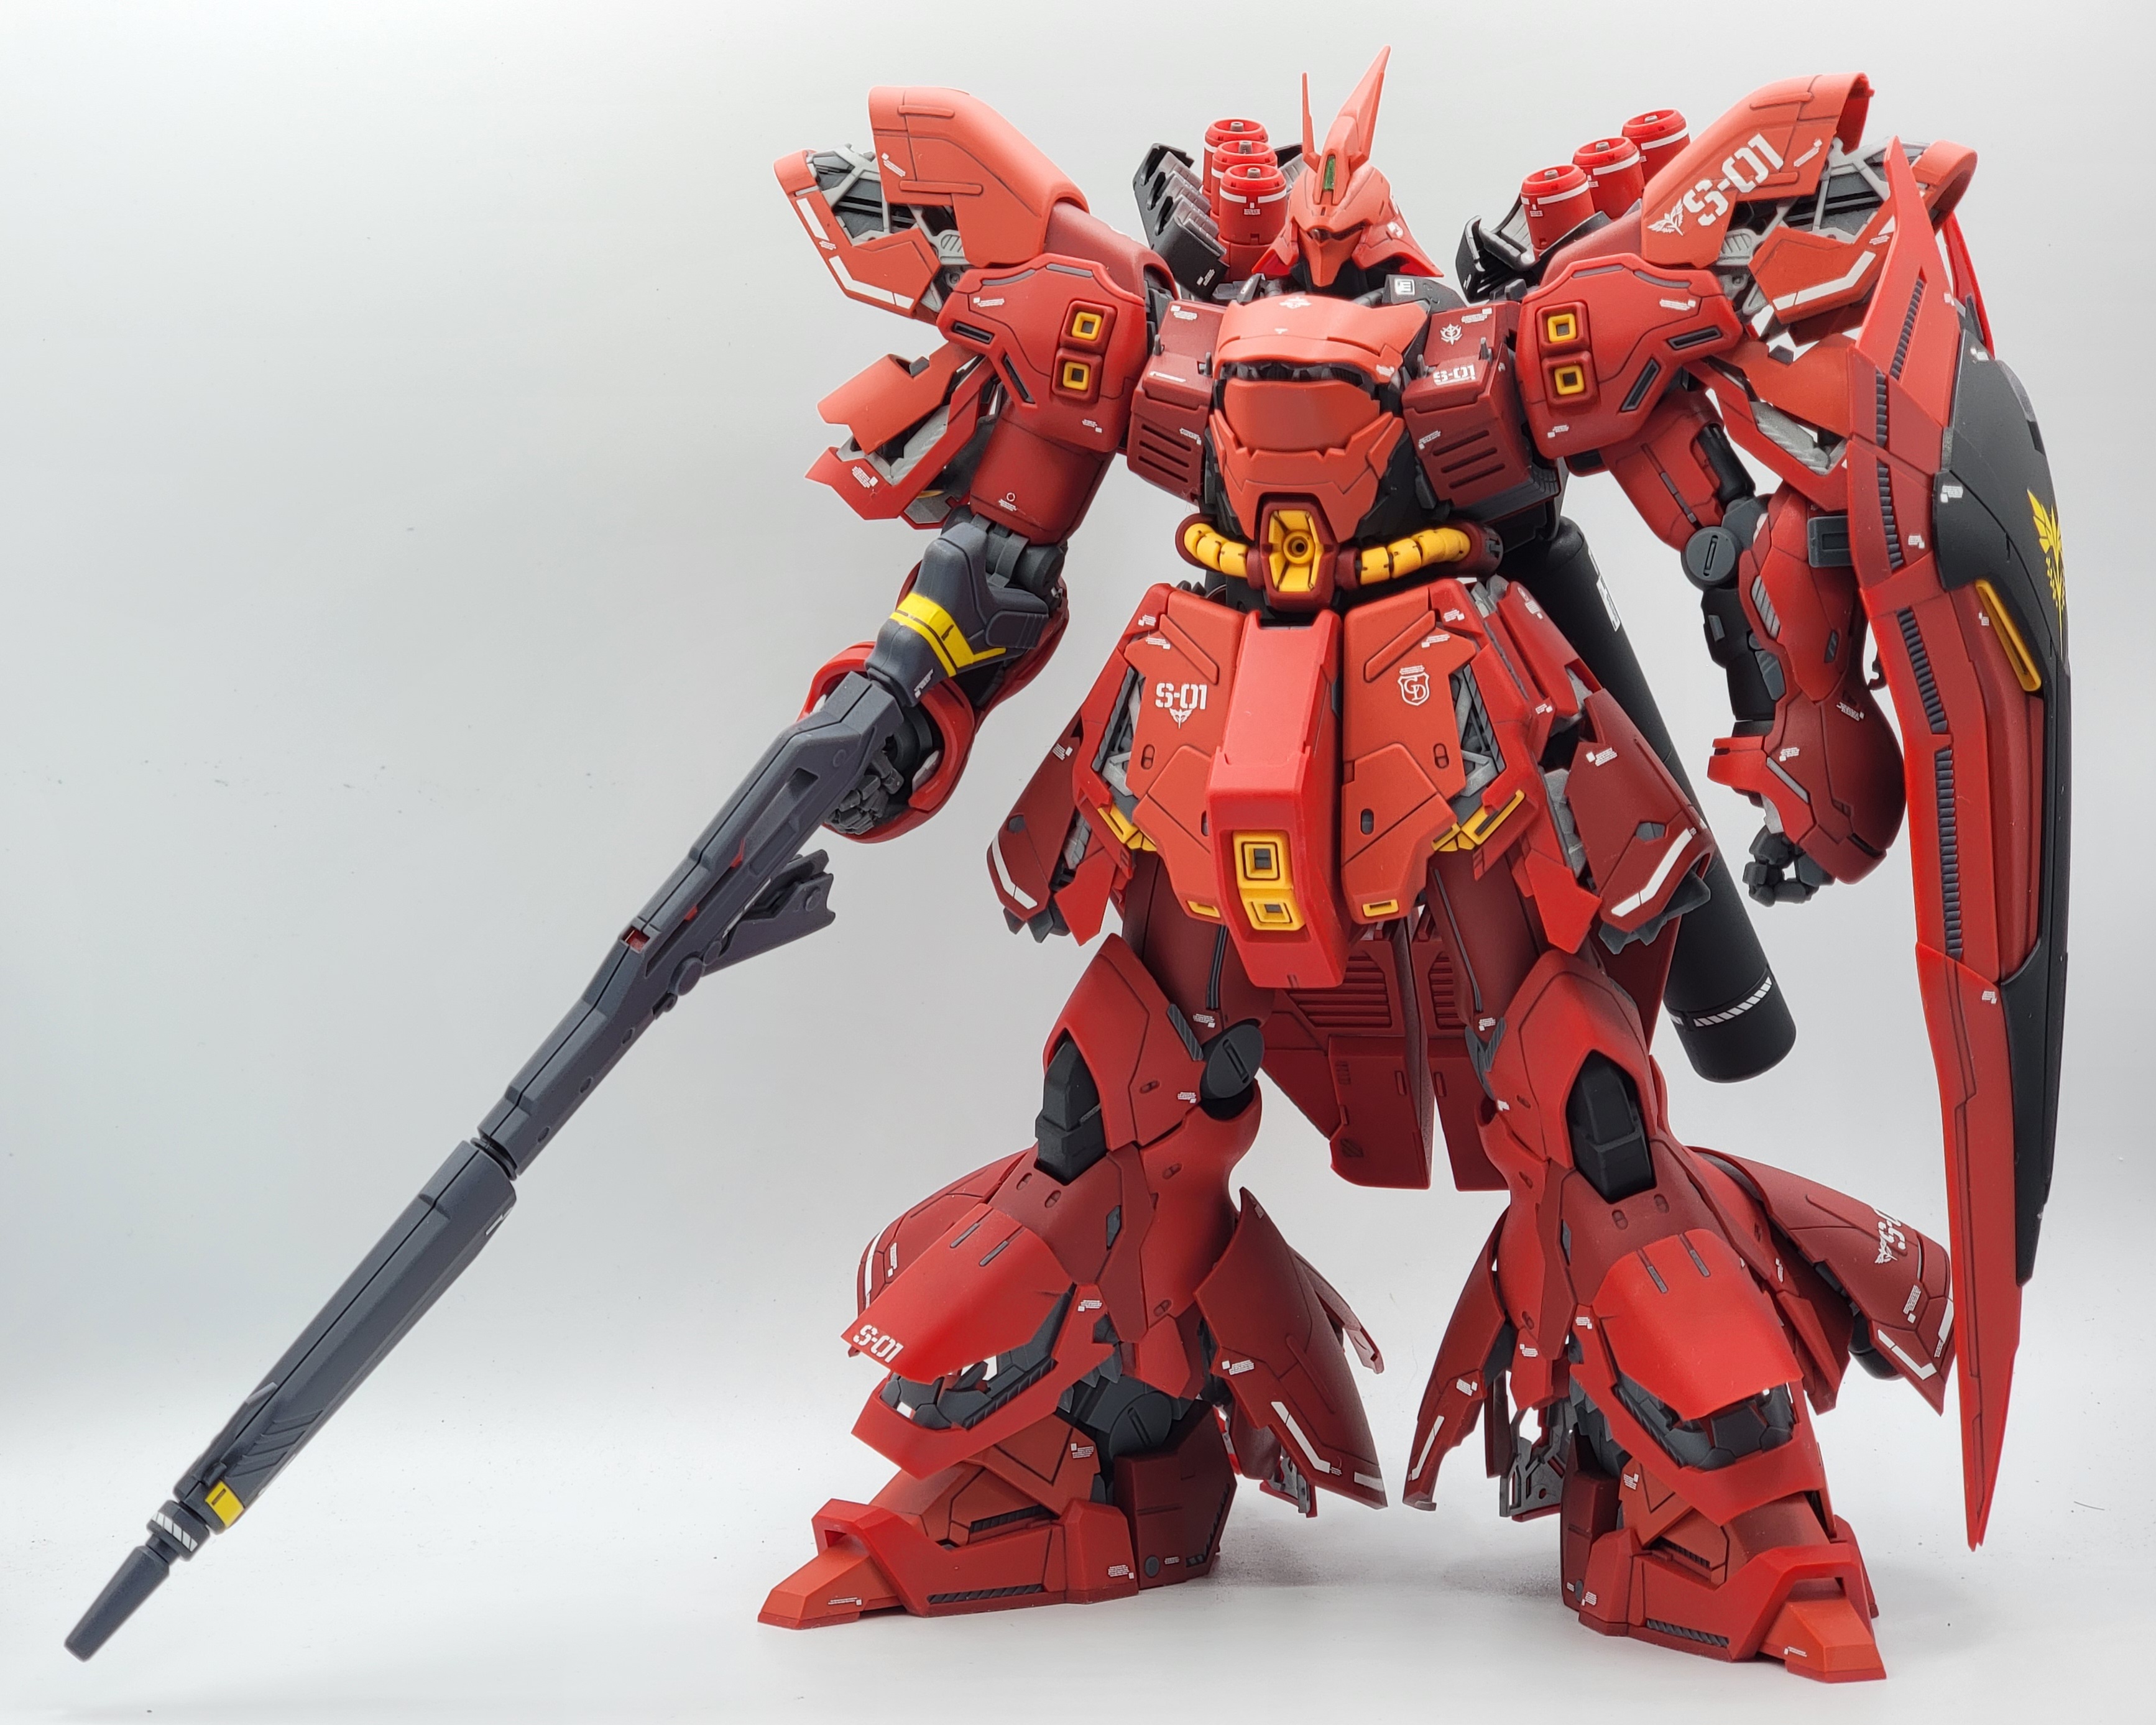
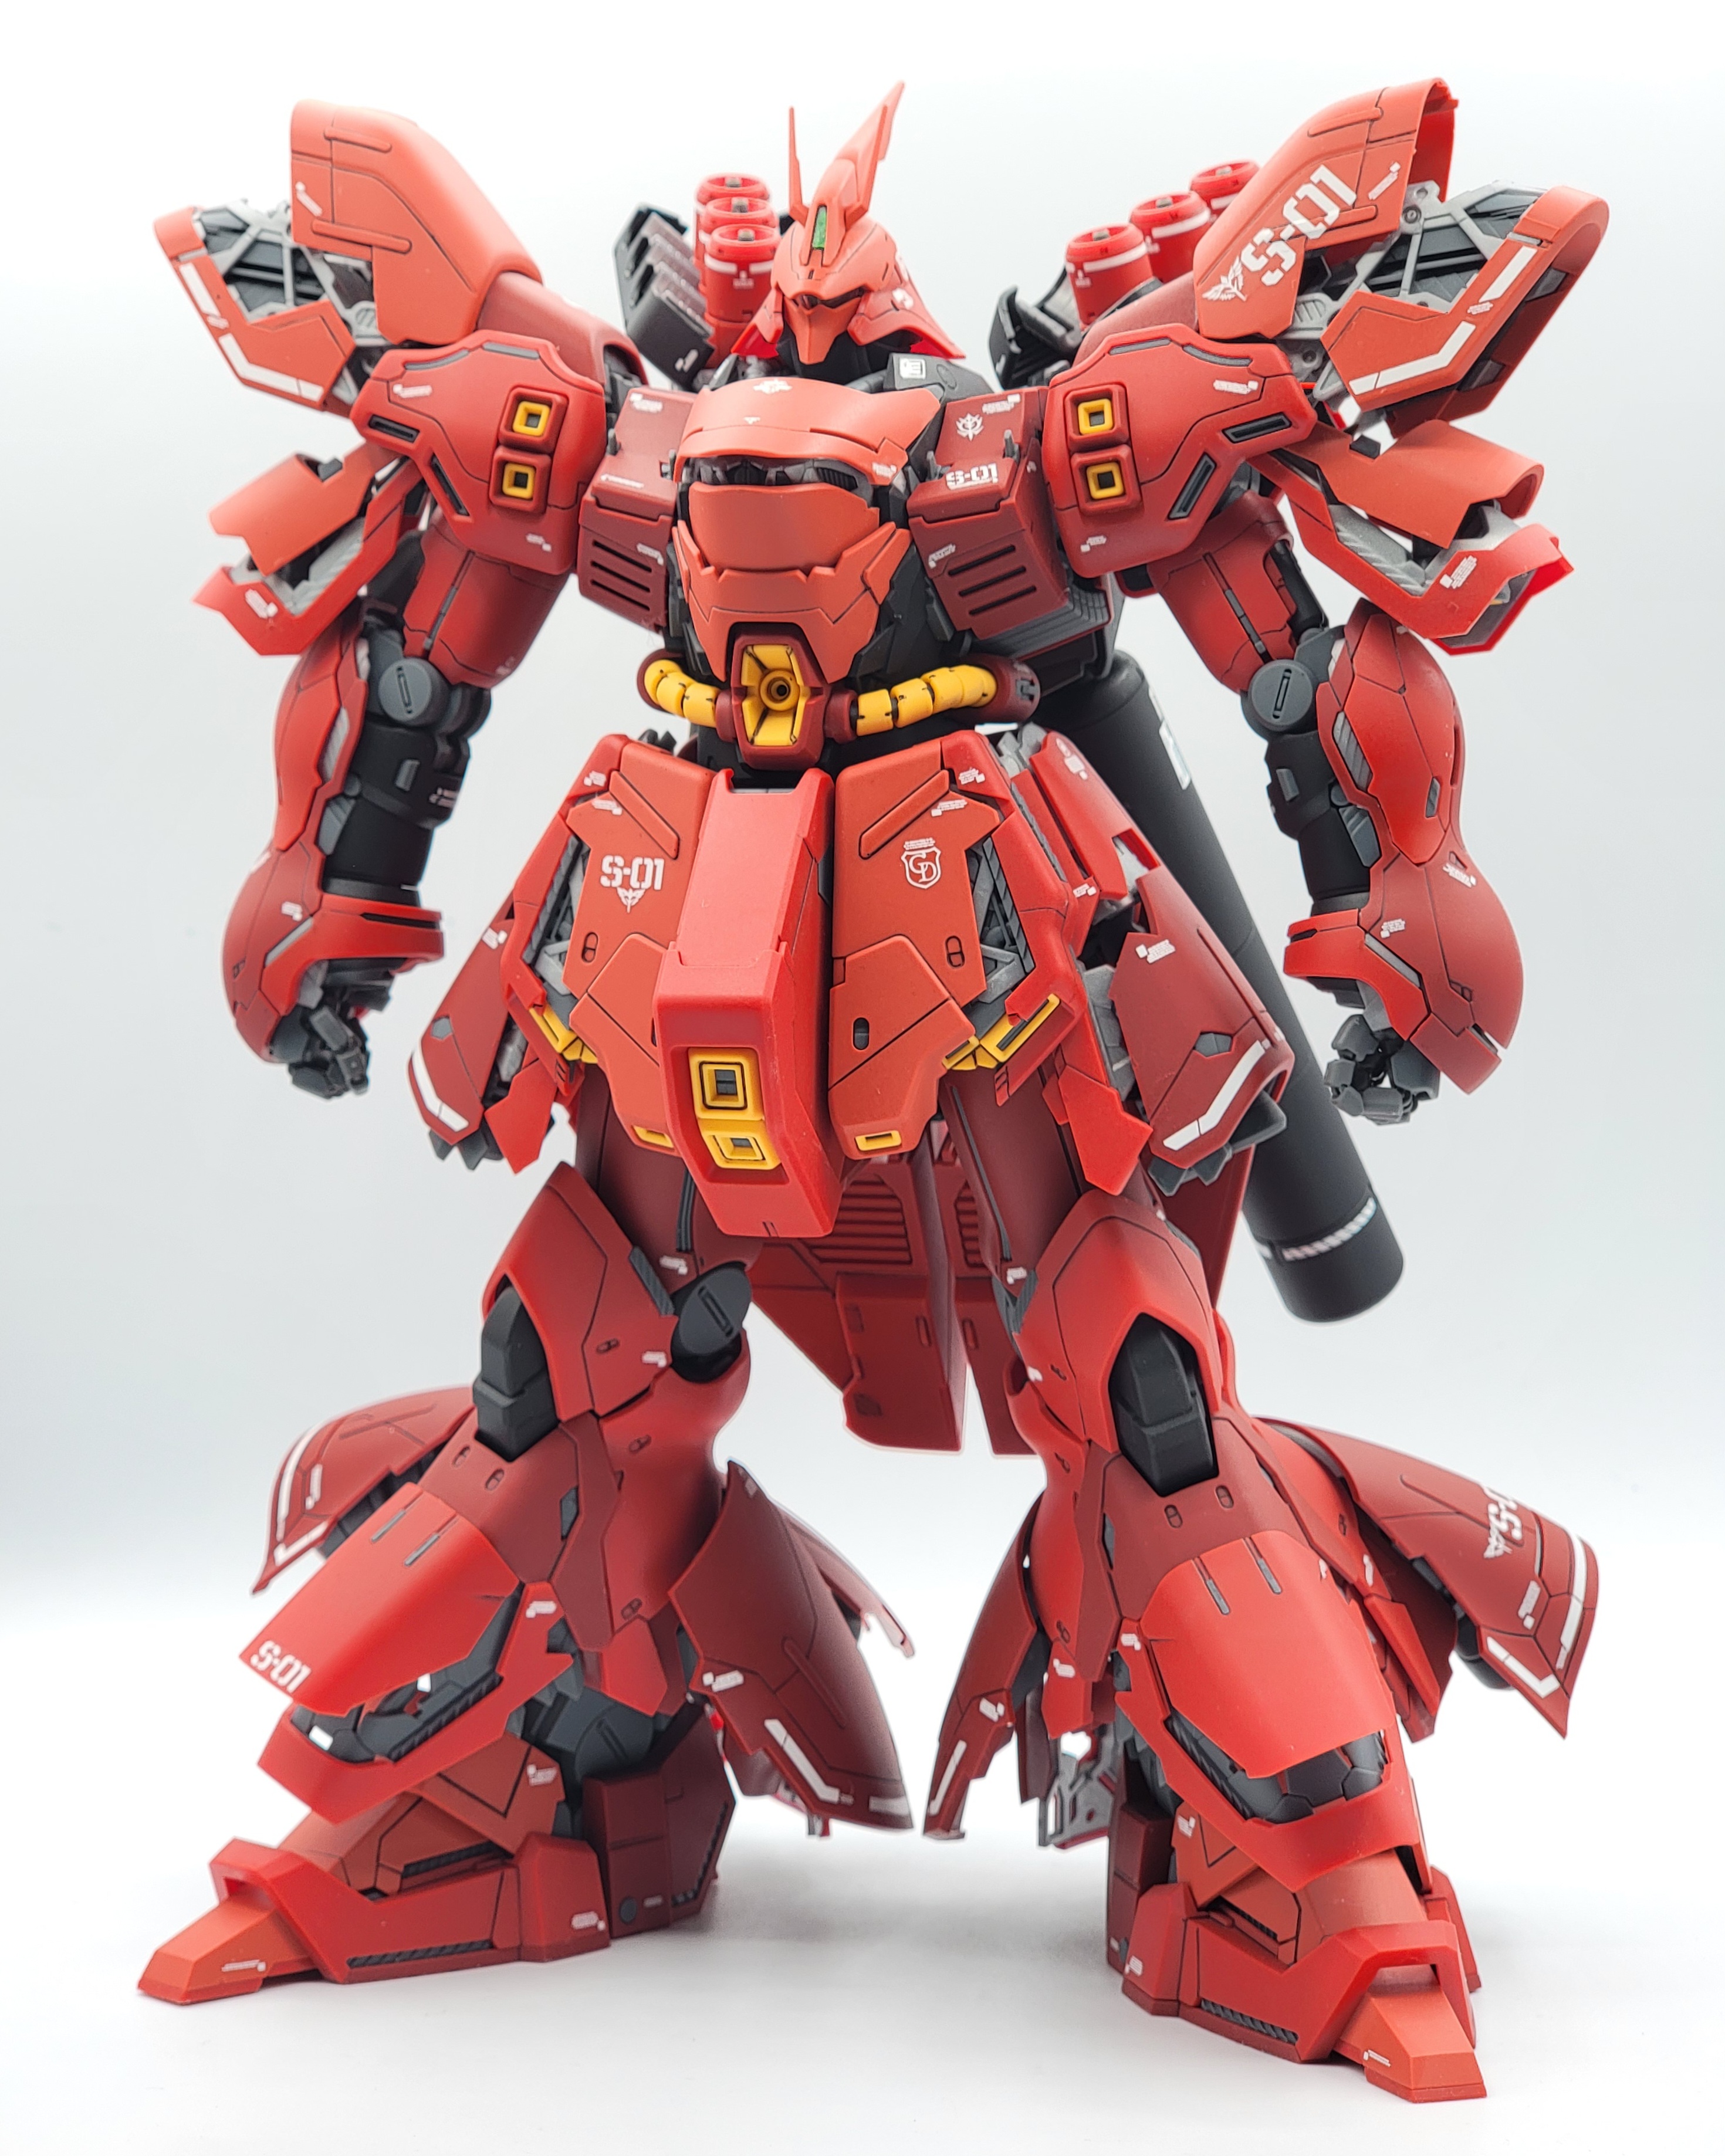
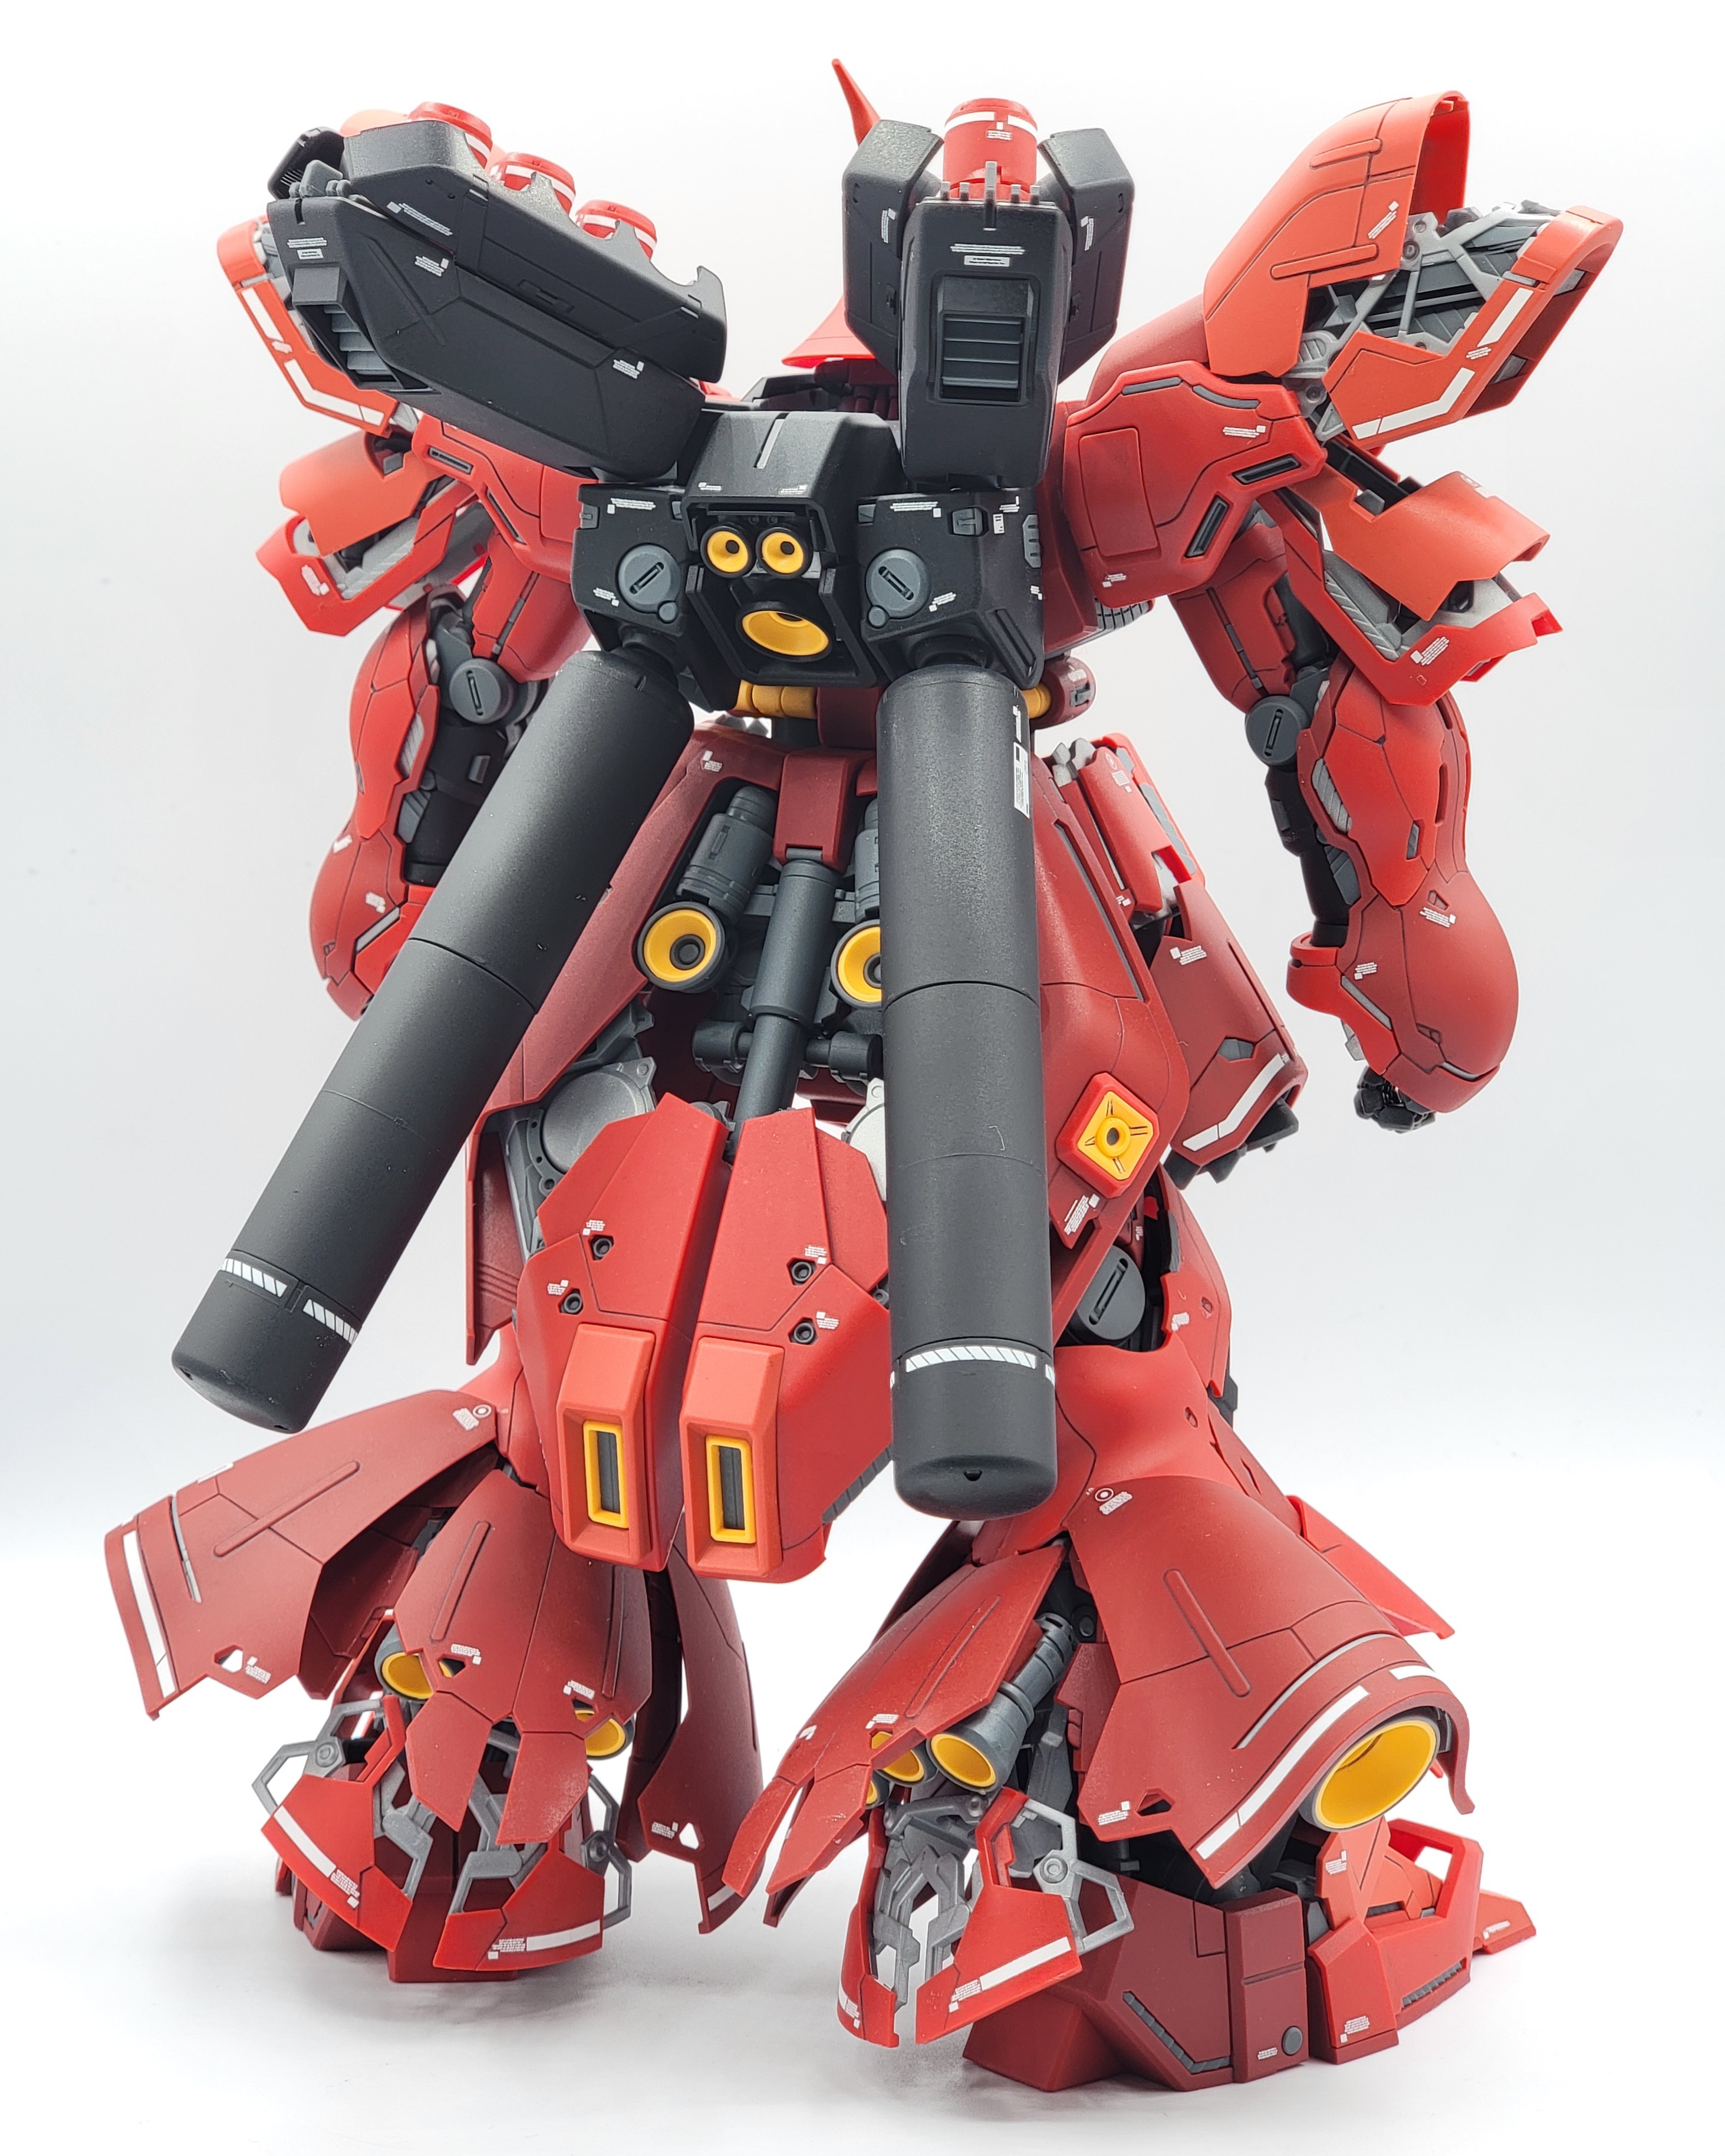
Getting it armored up, Sazabi was getting larger and heavier and the sheer size of the kit made me and my dad giggity. I haven’t built something this big in forever, and with its rather straightforward build (excluding the funnels, those are painful and repetitive), it was an enjoyable building experience. Carrying the kit is one hell of a feeling, as the kit is so goddamn dense weighing in 17 ounces, only 3 ounces less than PGU Gundam. The backpack is surprisingly heavy though, even without the funnels, so it needs to lean forward a bit to get it balanced. It looks really good OOB, having 3 different shades of red, and a lot of frame poking out of the armor. Though, there’s surprisingly a lot of detail that isn’t molded by the inner frame and needs to be painted instead, namely the pill shaped details on the legs and gray needed on bottom part of the shield. I wasn’t intending to paint the Sazabi, but it’s something to take note of if you want to make the kit as accurate to the box art as possible.
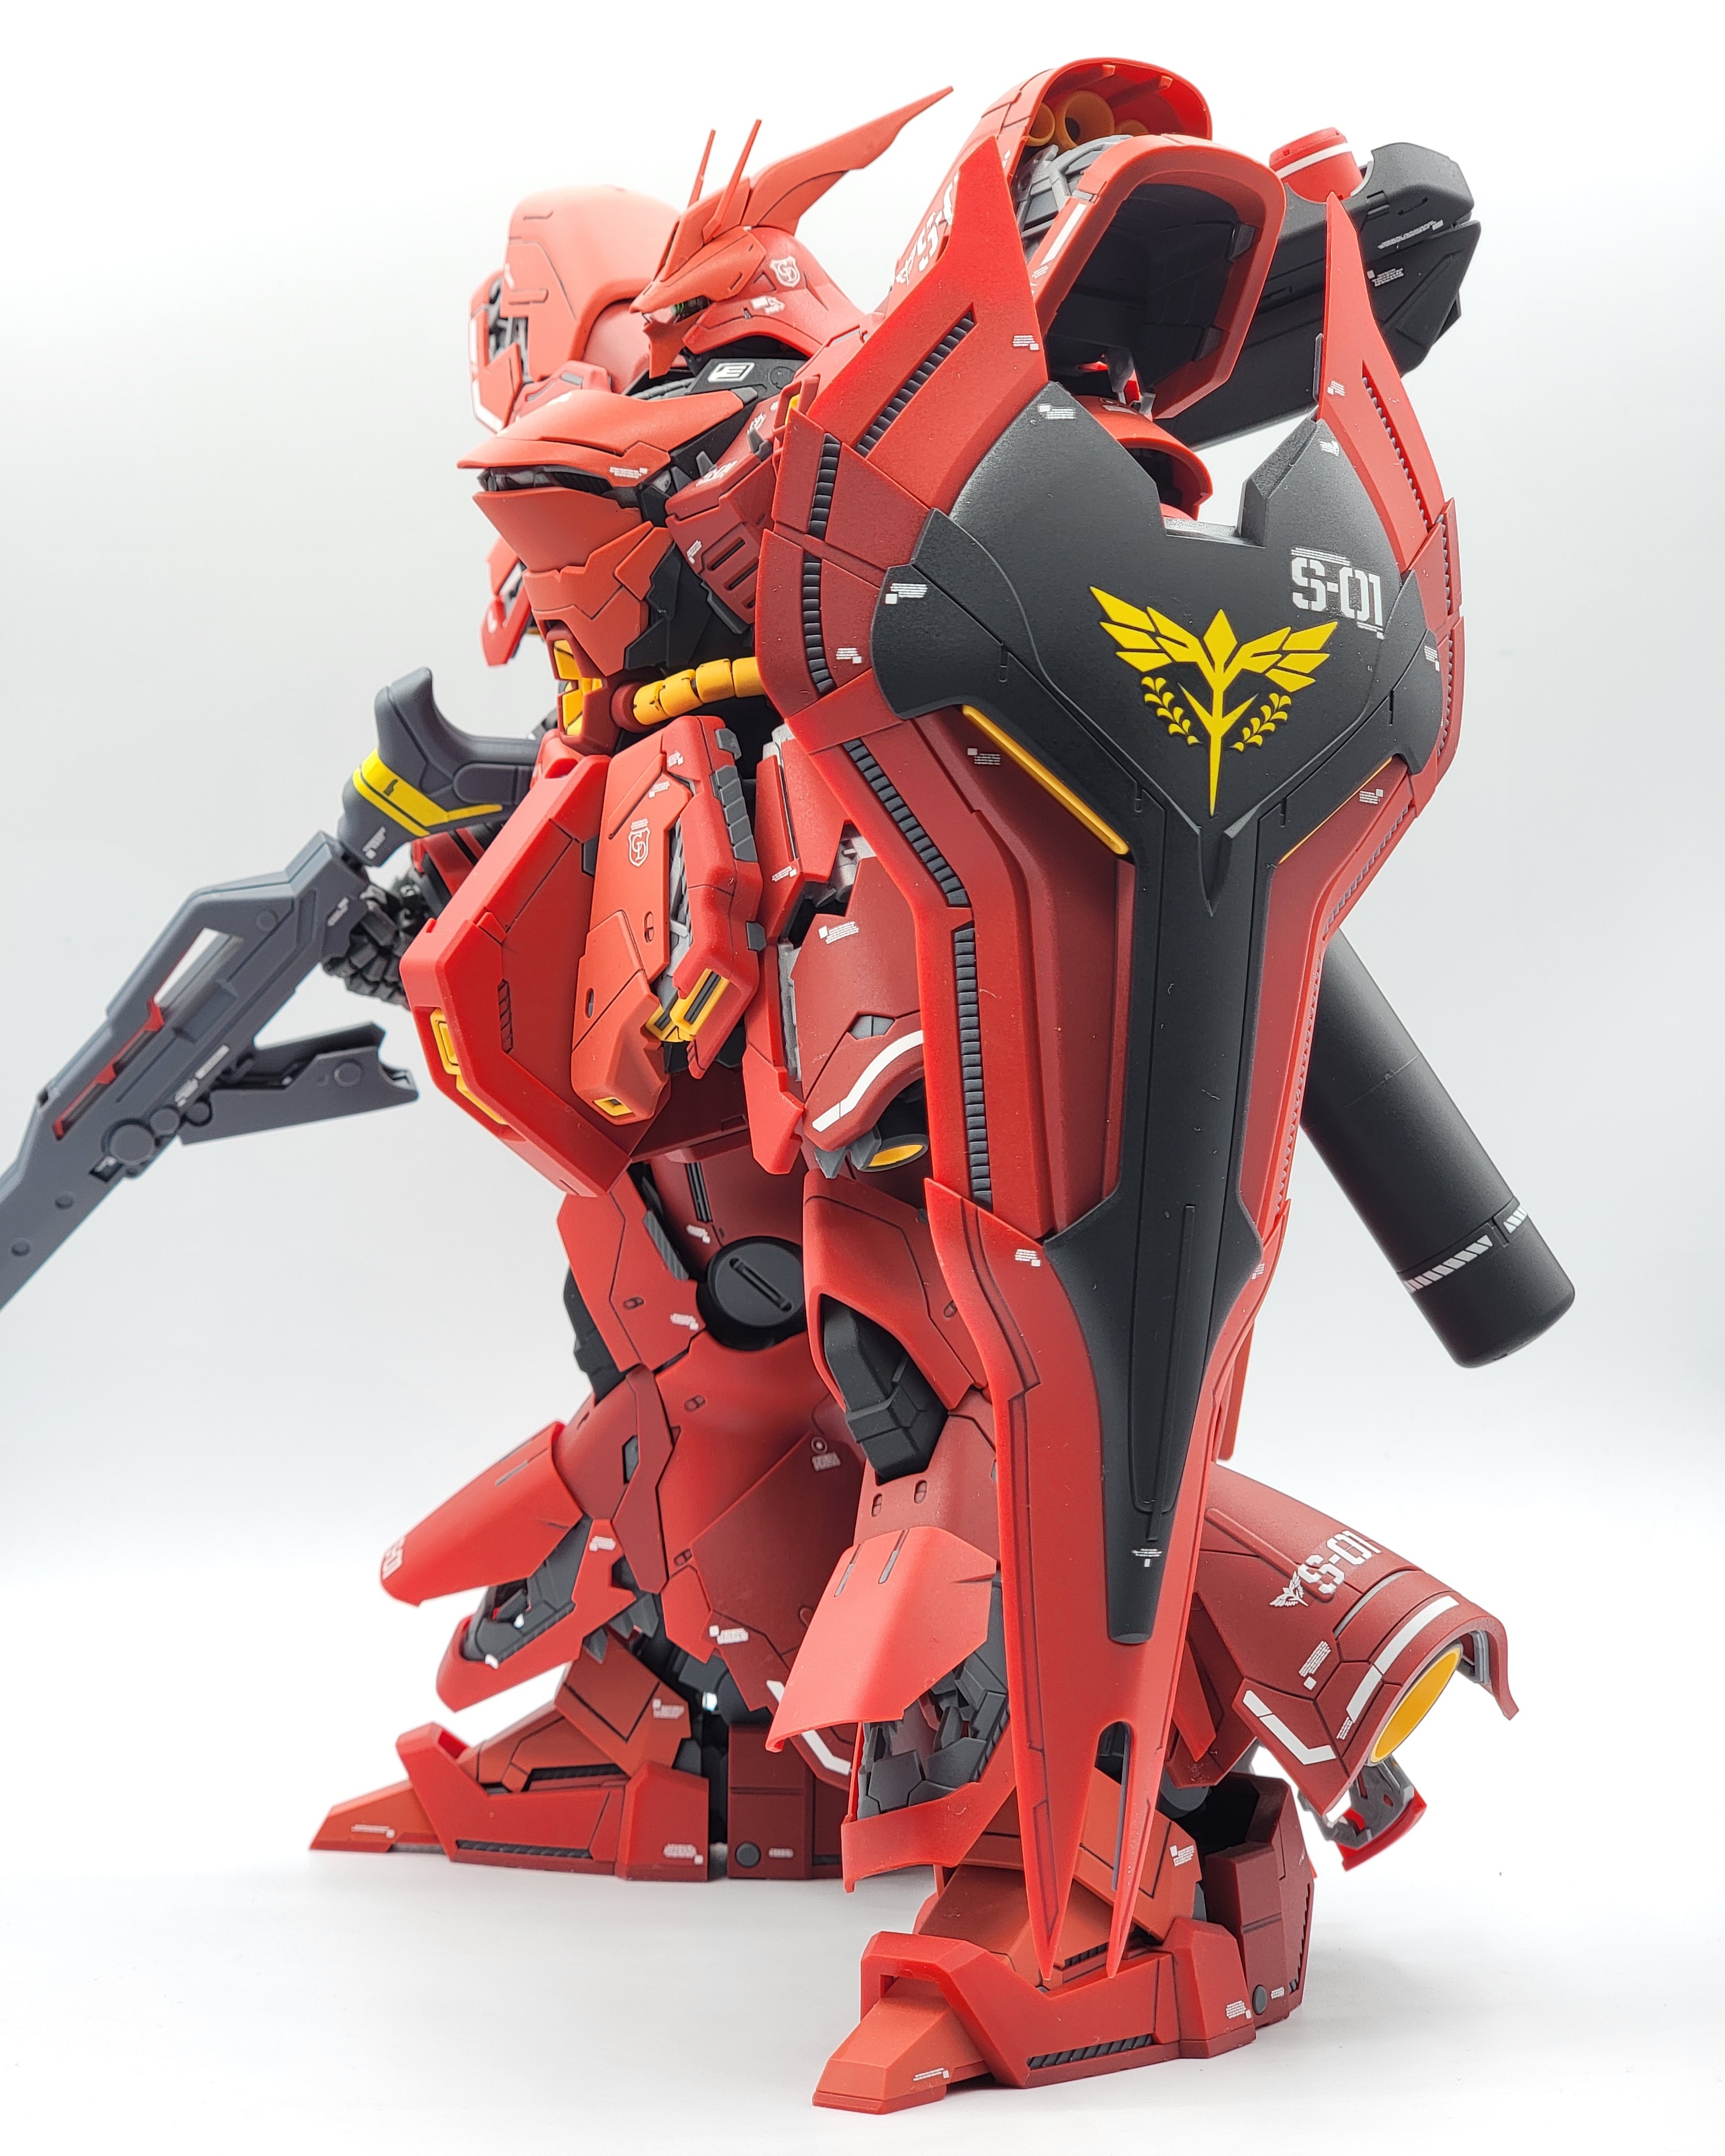
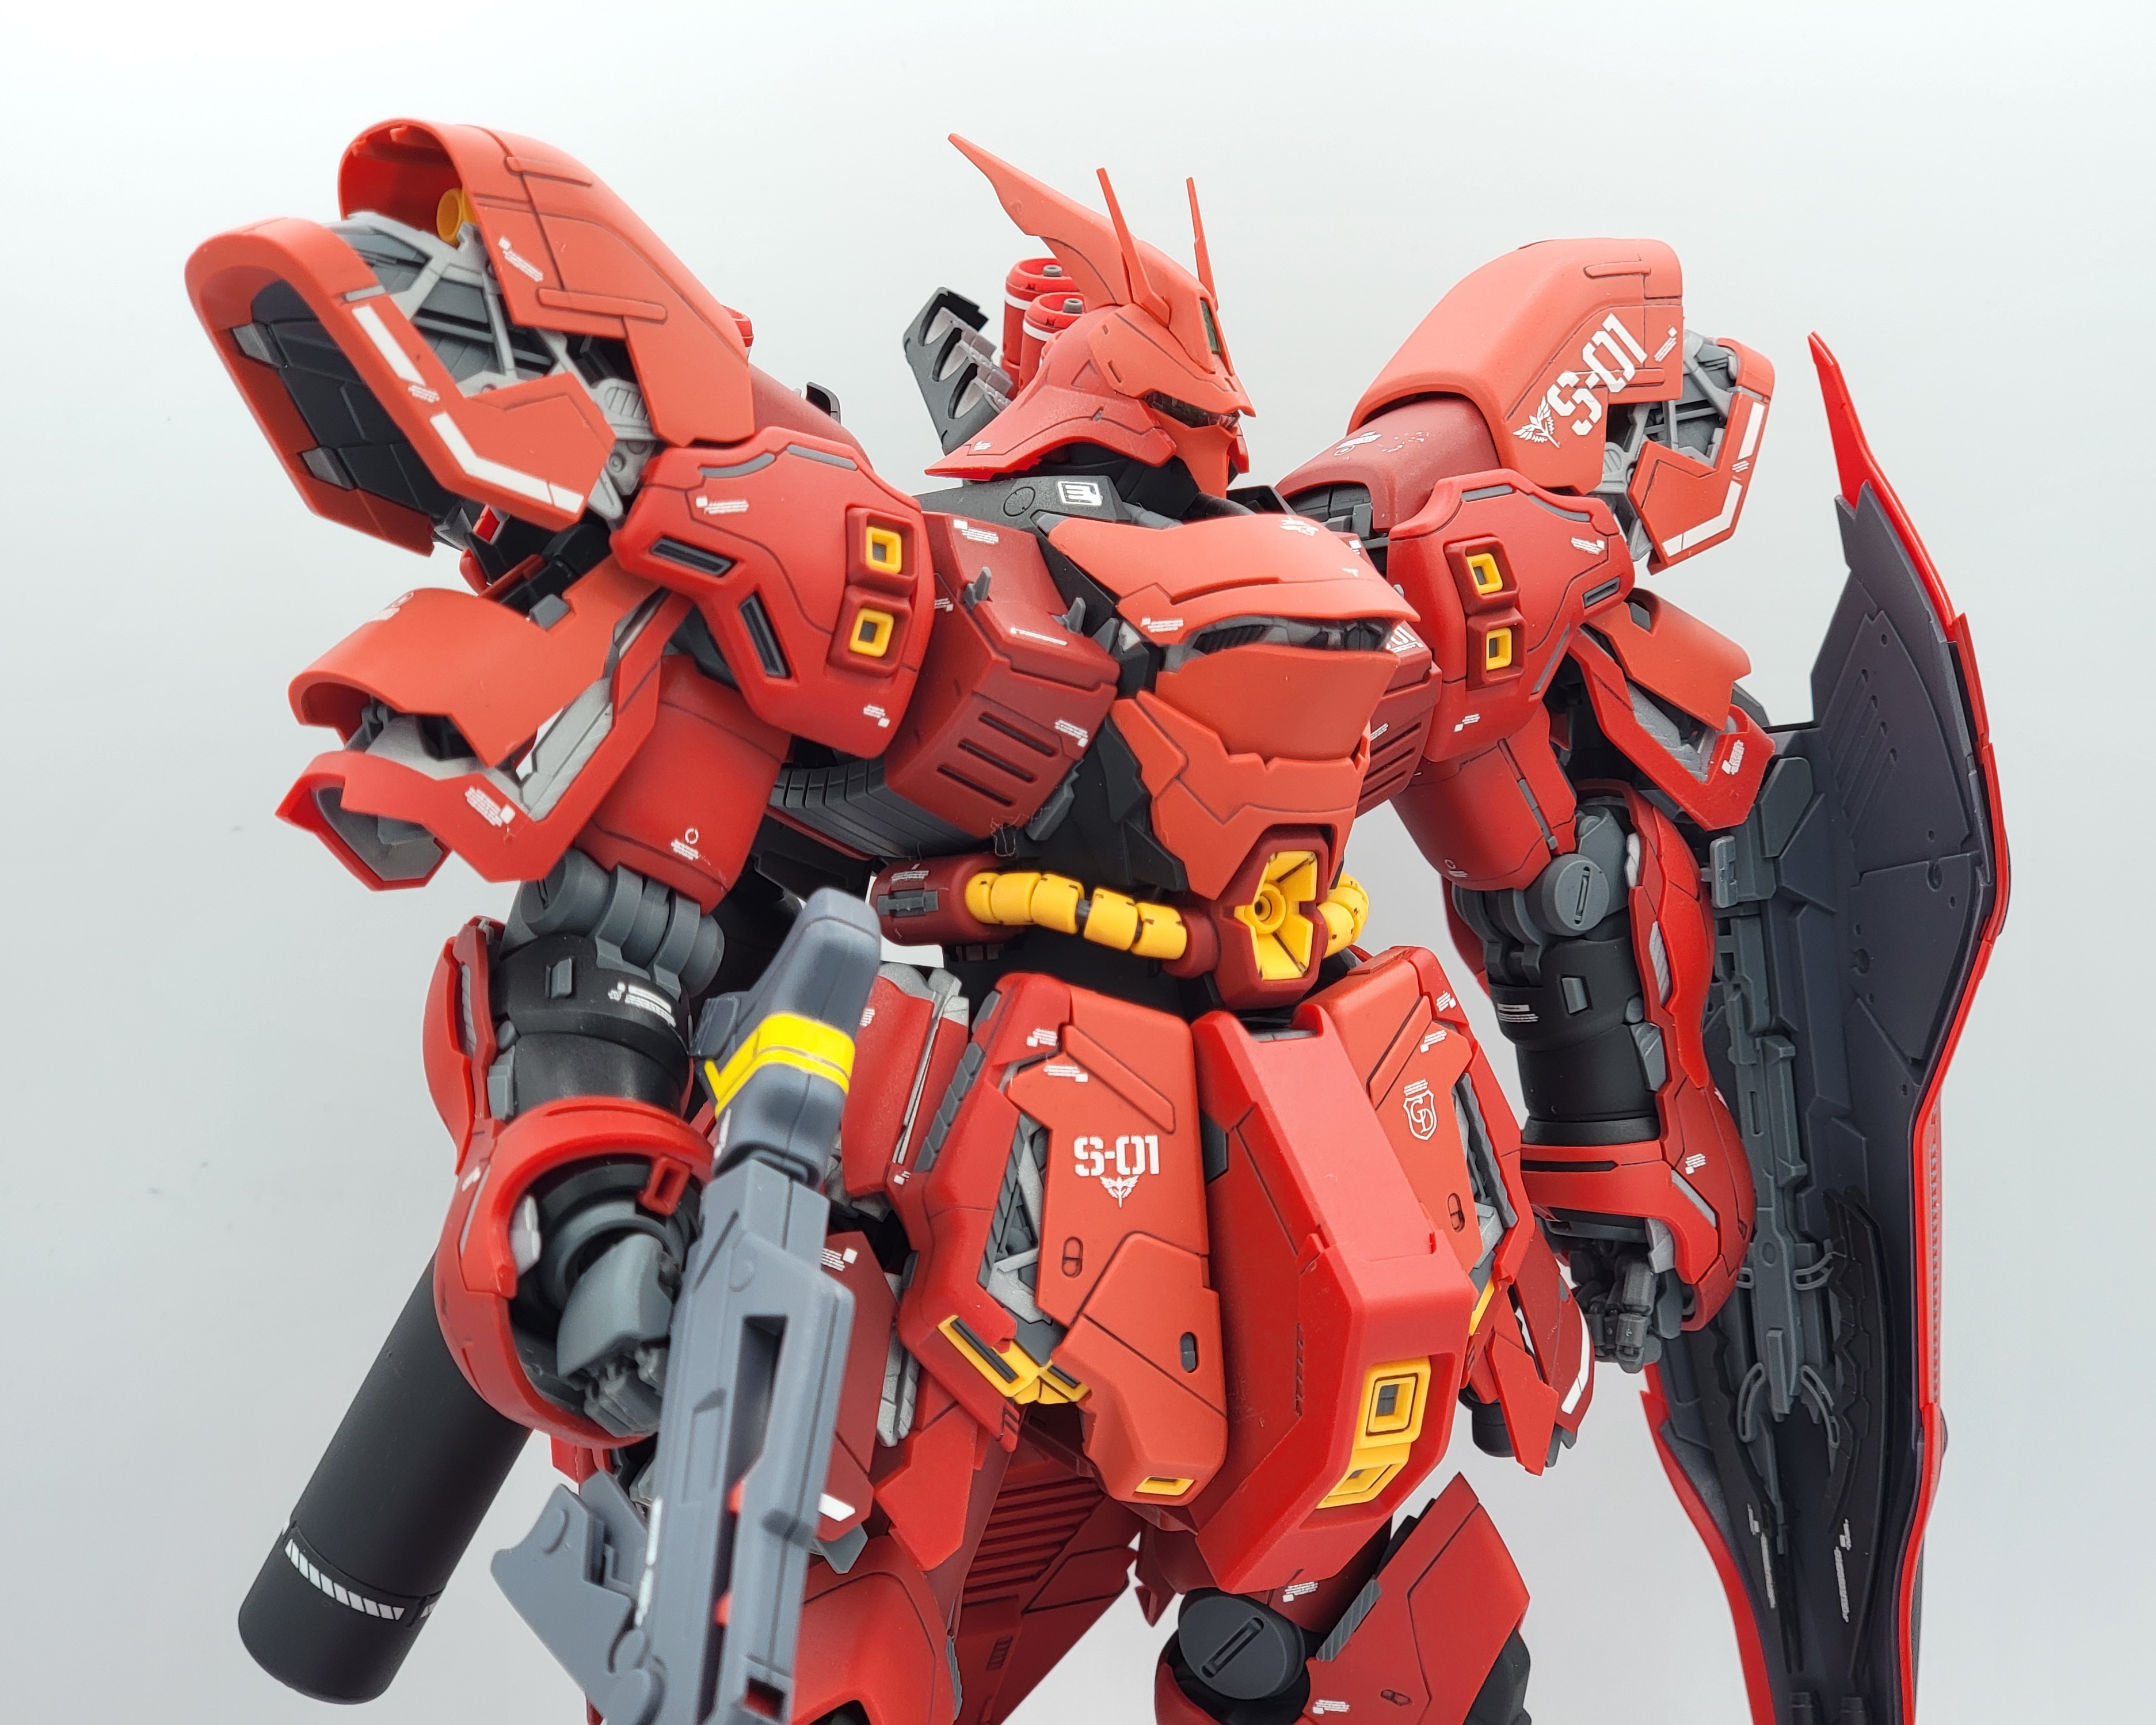
Next up was panel lining, which there is quite a fair bit to do, but I managed to do the entire kit within a day. The parts that needed painting, I just panel lined the details. My biggest concern was dealing with what comes next—I historically loathe Bandai waterslides, and as a Ver.Ka kit, Sazabi comes with over 150 of them. I was contemplating whether I should shell to get an extra set from Delpi Decal to keep my sanity, but this wasn’t my kit, so I took the risk with Bandai’s waterslides and for whatever reason, this has been the best experience I’ve had with them. This was the first time in forever that I was applying them in bare plastic versus flat painted plastic, and I tried using warm water instead of cold water like many people suggest. Waiting for the decals to slide off were not atrociously long, adjusting them was not bad, and while a few cracked here and there, not a single decal came off, which is honestly like the first time that has ever happened. I’m not sure if these decals in particular are in higher quality than other Bandai slides, or after years painstakingly dealing with them have I now learned the most optimal way to apply them. But then again, there’s so much surface area on Sazabi to not accidentally touch the decal, which is how the decals fall off most of the time.
Finally, I gave Sazabi a nice flat topcoat, as while I wasn’t required to do so, I personally did not want to leave Sazabi looking super plasticky as it does out of the box. This would be my first time coating a kit larger than the RG Zeong, and my god it was quite the challenge. I usually coat my kits using alligator clips to hold them, but Sazabi is very large and very heavy, I had to resort using my hand to hold the parts in place, which it was not easy rotating the piece while trying to avoid touching the clear coat. As this is a giant kit, it took an entire half of a can to get everything evenly coated, but the finished result was well worth it.
Having Sazabi completed, holy shit does it really look like it came right out of the manual. My S21 Ultra does saturate the red quite a bit, but in person it strikingly resembles the promotional material. It is fucking gorgeous, outclassing the RG Sazabi in looks even though that came out 5 years after and has much better posability. I’m certain that the Ver.Ka can pull poses, I just didn’t want to as I didn’t want to weaken the joints or ruin the decals by touching them. Again, the Sazabi just standing already gives it so much presence due to its sheer size and thiccness that many others lack.
All in all, this was a very fun time. I finally got to experience the behemoth MG myself and made it as good as it can get without any actual painting. It’s not as difficult as it looks due to its volume, the details are great but not overbearing, and it’s one handsome looking kit. I sure am curious how this is getting transported back to my dad’s friend, but I’ll let them handle that situation themselves. Thanks for reading, and I’ll see you later!